In this article, we’ll walk through a real-world example of programming both a standard transponder key and a Ducati “red key” for a 2023 Multistrada V4S using the OBDStar Ducati diagnostic tool—a versatile and increasingly popular option for DIY motorcycle maintenance.
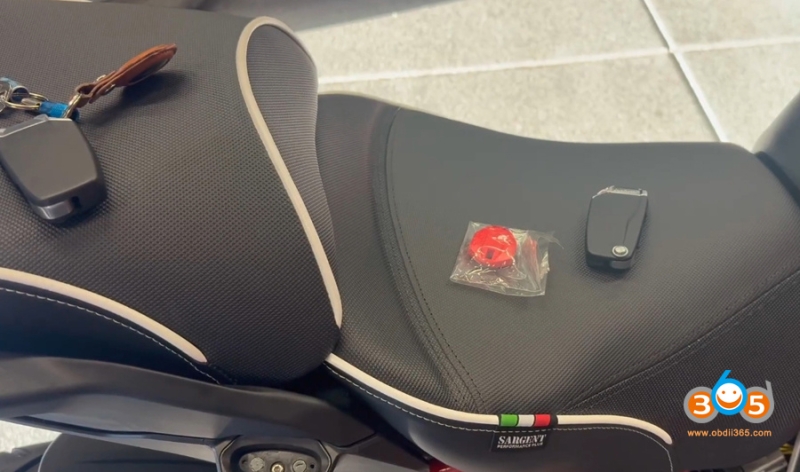
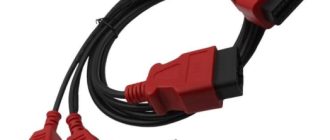
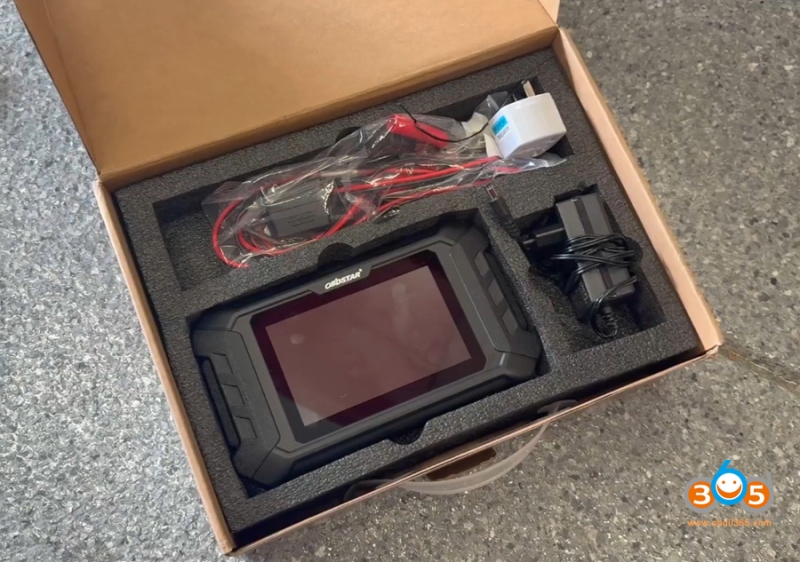
A Ducati Multistrada V4S owner found himself in a common predicament: his used bike came with only one key. For security and convenience, he wanted to add both a second transponder key and the important “red key”—Ducati’s master key used for programming and immobilizer functions. Rather than heading straight to the dealer, he turned to an OBDStar iScan Ducati diagnostic tool for around $450 (with a M041 Euro cable).
Why OBDStar?
OBDStar is a multi-brand diagnostic device that supports a wide range of vehicles, including motorcycles. It had already paid for itself once: he used it to reset the bike’s PIN code, which was unknown from the previous owner and not provided by the dealer. Beyond key programming, the tool can also reset service indicators, enable fog light switch and perform various diagnostics—making it a valuable long-term investment for the hands-on rider.
The licence renewal for the OBDStar is a firmware update with new features and the addition of recent new models. Unlike quite a few OBD readers the unit will continue to work, beyond the expiry date, without an update. You’ll only miss out if they add new features for your specific model.
Step-by-Step: Programming New Ducati Keys
1.Preparation
Connect a battery charger to ensure stable voltage during the procedure—a crucial step to avoid interruptions.
The OBDStar was plugged into the Euro5 diagnostic port under the seat (though wiring from accessories like lights and horn controllers made access a bit crowded).

2. Accessing the Key Programming Function
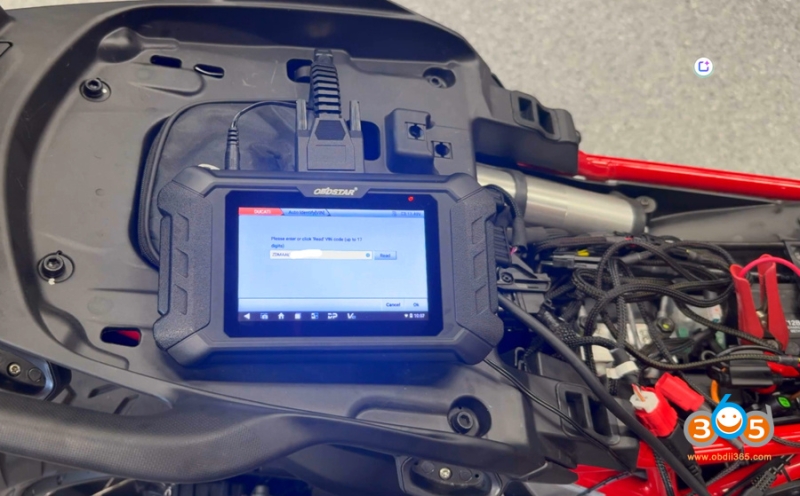
With the ignition on, he navigated through the OBDStar iscan menu:
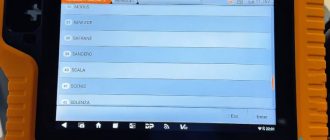
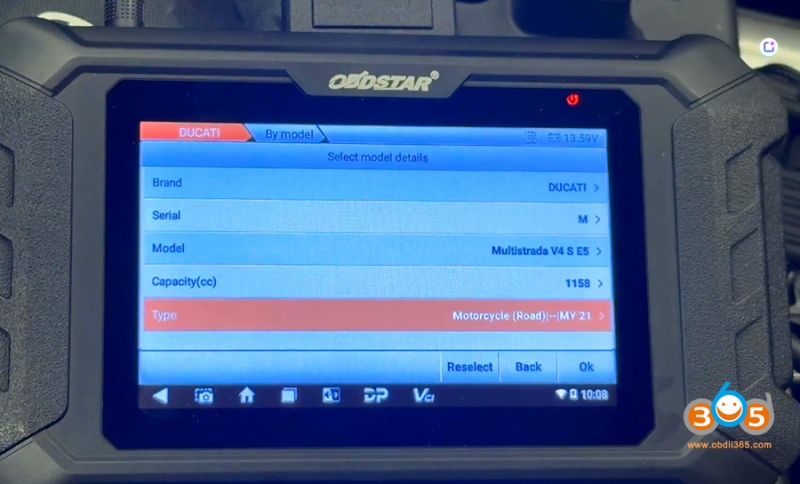
Moto Diag – Ducati – Diagnosis
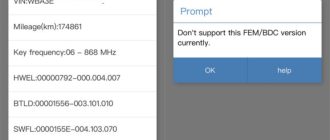
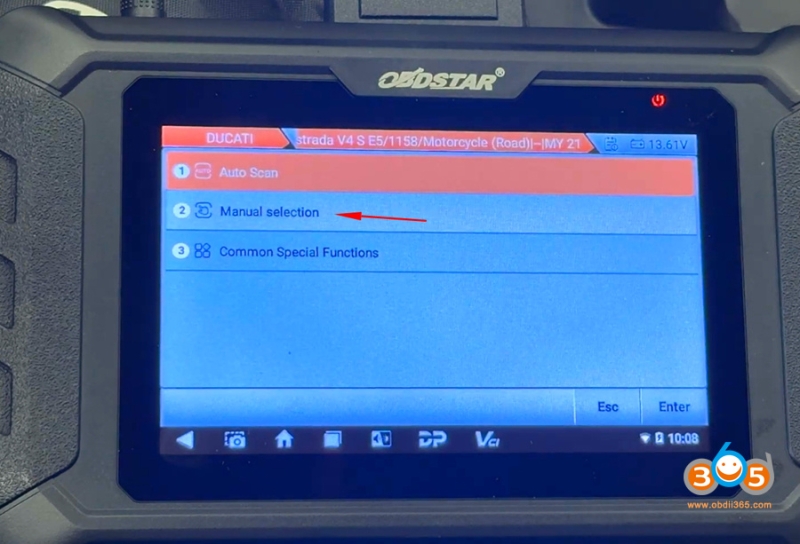
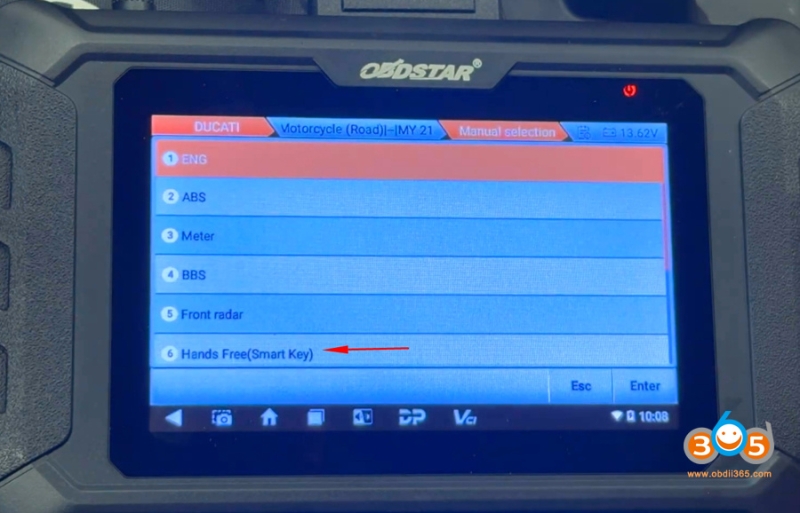
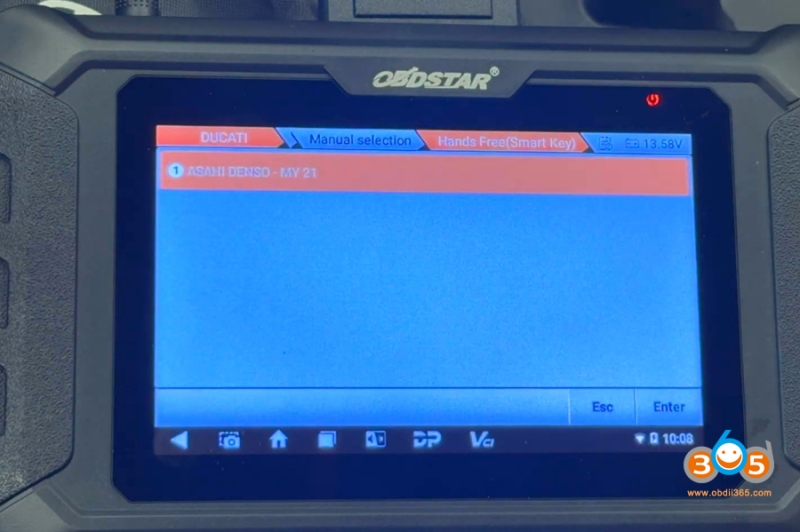
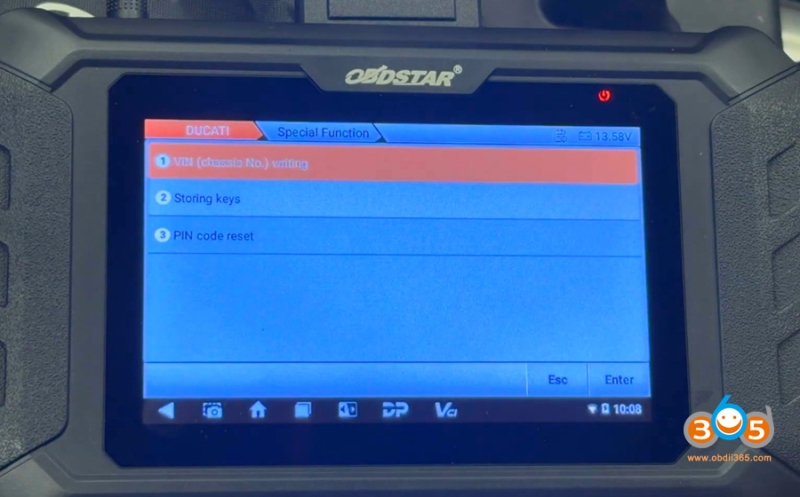
After auto-identifying the bike and reading the VIN, he selected Manual Selection – Hands Free (Smart Key) – Special Functions-Storing Keys
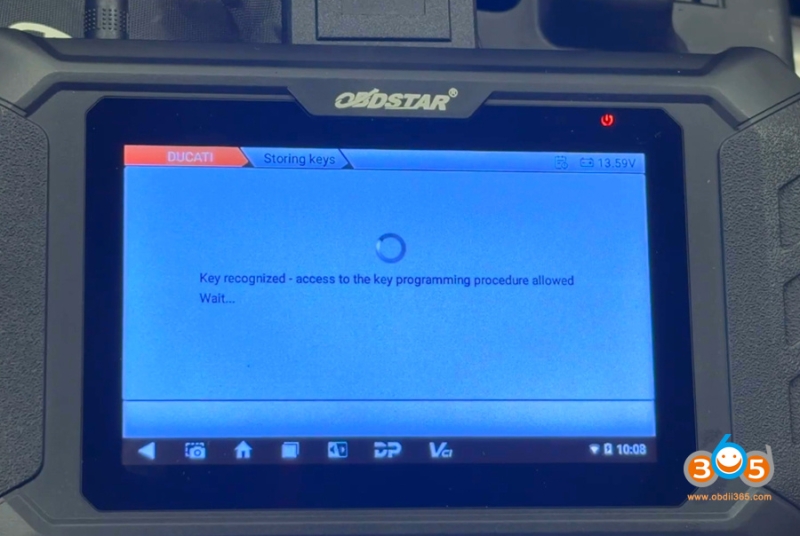
3. Authentication and Key Association
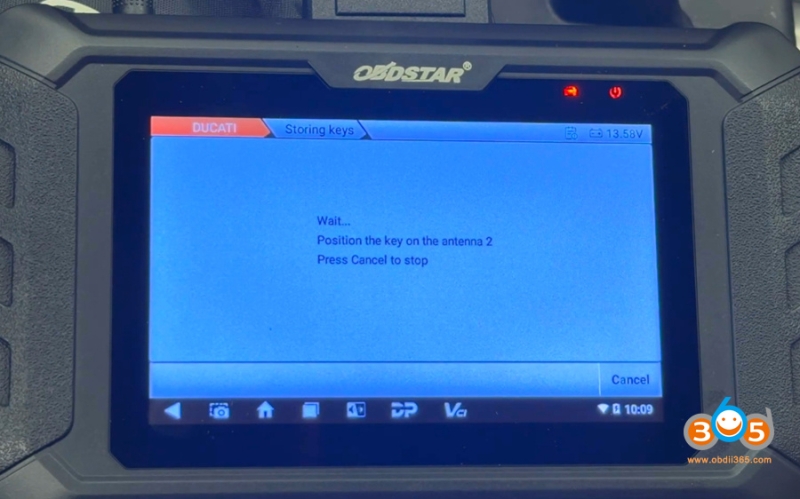
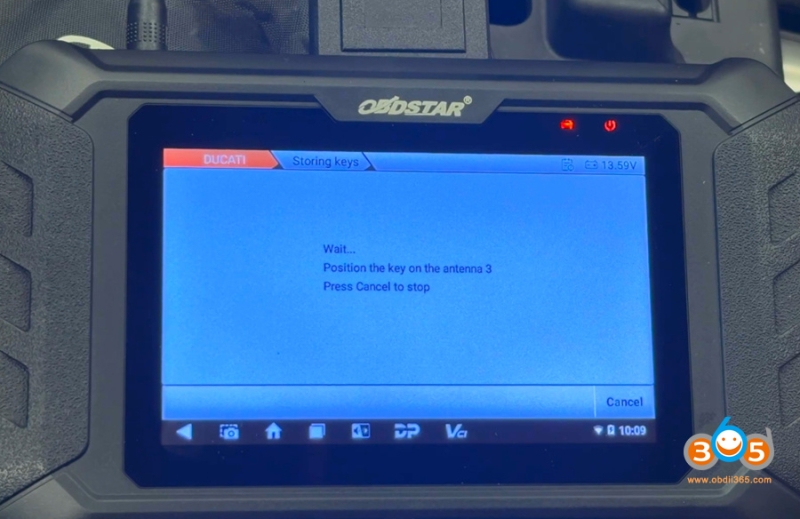
The system prompted him to authenticate using an original key first, placed near the antenna (located under the tank, marked with a small antenna symbol).
Importantly, he noted that after authentication, all keys—including the original—must be reprogrammed.
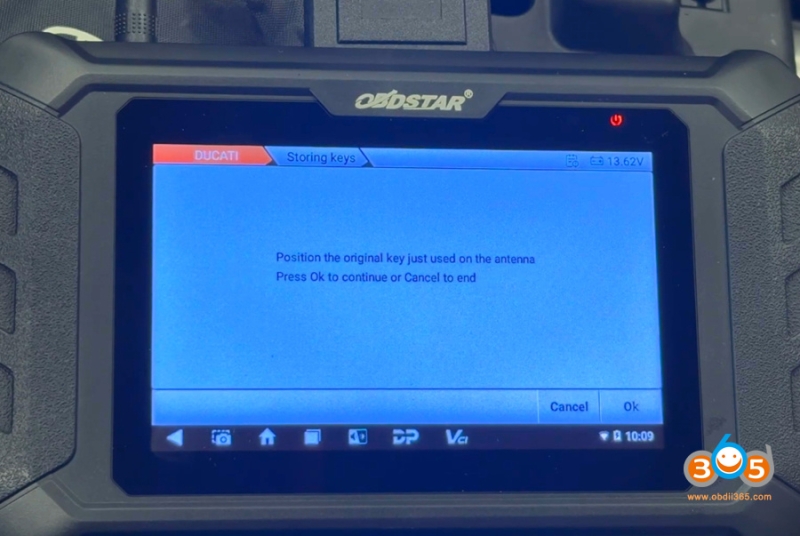
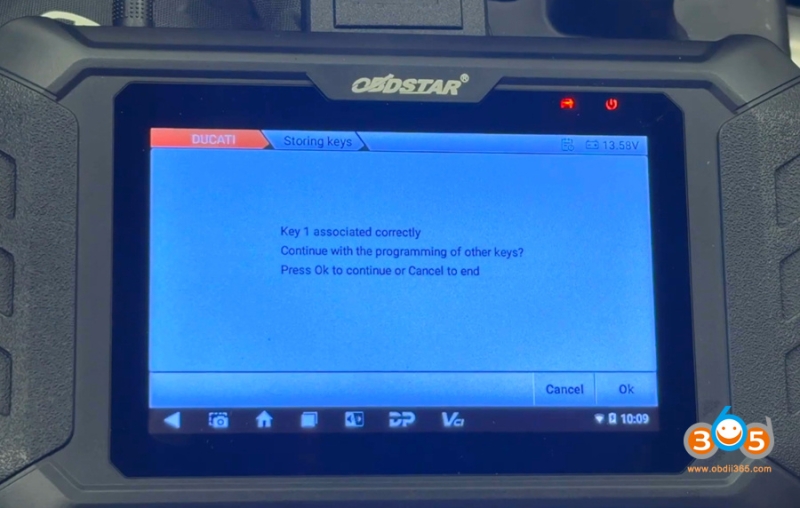
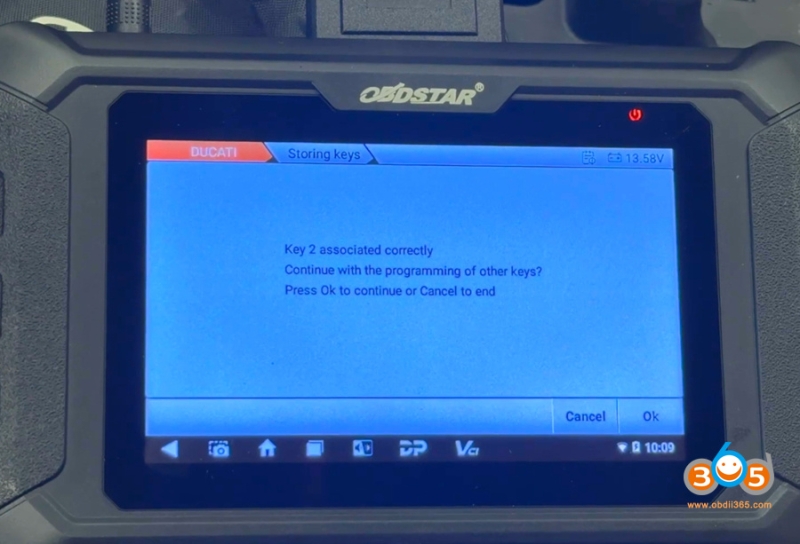
He then followed on-screen instructions to associate each key one by one:
First the new transponder key
Then the original key
Finally the red key
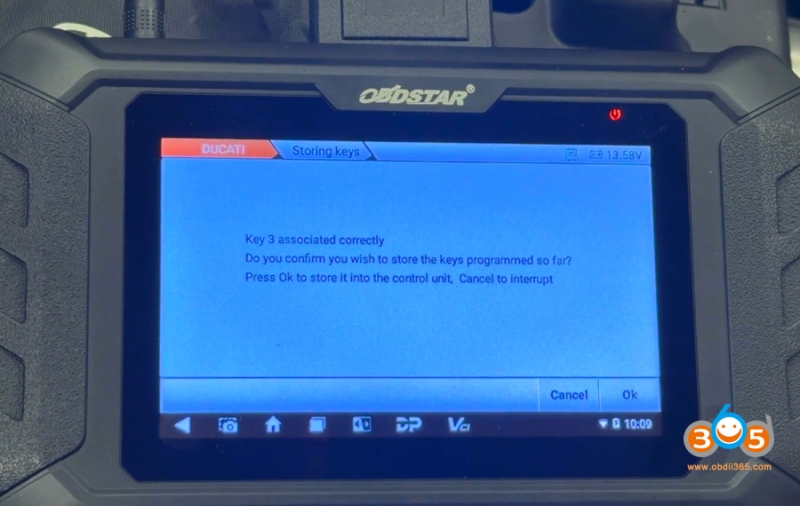
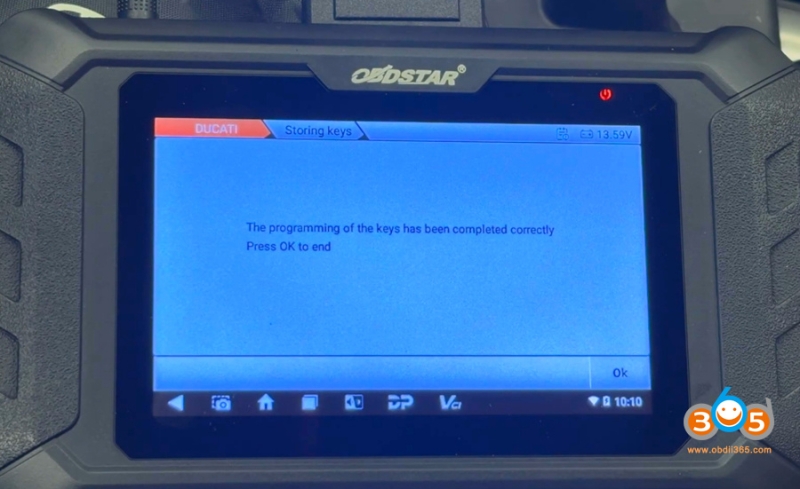
4. Complete
Once all keys were recognized, he selected “Store into the control unit.”
The process completed successfully, and all keys were ready to use.
Tips for Success
Hold keys near the antenna: The antenna location is typically under the fuel tank near the ignition. Look for a small antenna icon or refer to your bike’s manual.
Keep keys separated during programming: This avoids signal interference and ensures each key is recognized individually.
Use a battery charger: Preventing voltage drop is critical during ECU communication.
Follow translations carefully: Some menu items may be translated awkwardly. When in doubt, follow the logical flow—authentication first, then programming of all keys.
Conclusion:
The OBDStar allowed him to:
- Reset the bike’s PIN
- Program two new keys
- Retain the ability to reset service lights
- Much more.
While the device requires an annual subscription after the first 18 months (around $80), the savings from just one key programming or PIN reset can justify the cost. For Ducati owners—and riders of other Euro5-compliant bikes—the OBDStar represents a powerful entry into advanced DIY motorcycle maintenance.
Whether you’re adding a spare key, replacing a lost one, or just want more control over your bike’s electronics, tools like OBDStar are making professional-level diagnostics accessible in the home garage.