The 2023 Renault Kwid features a flip key design that is shared with other Renault models including the Sandero and Logan.
Important Distinction: Digital vs. Analog Dashboard
One crucial factor that affects the key programming process is the type of dashboard your Renault Kwid has:
Digital Dashboard: Much easier to program keys without needing to stabilize the vehicle’s electrical system
Analog Dashboard: Requires more attention to battery power and vehicle stabilization during programming
The vehicle featured in this tutorial has the digital dashboard, it is significantly more straightforward for key coding.
Technical Specifications
Vehicle: Renault Kwid 2023
Key Type: Flip key (canivete)
System: Same as Logan/Sandero 2015 onwards
Chip Type: 4A
BCM/ECU Manufacturer: Continental (easier to program)
Equipment Used
OBDSTAR X300 Classis G3/X300 Pro4
Step-by-Step Key Programming Process
Preparation
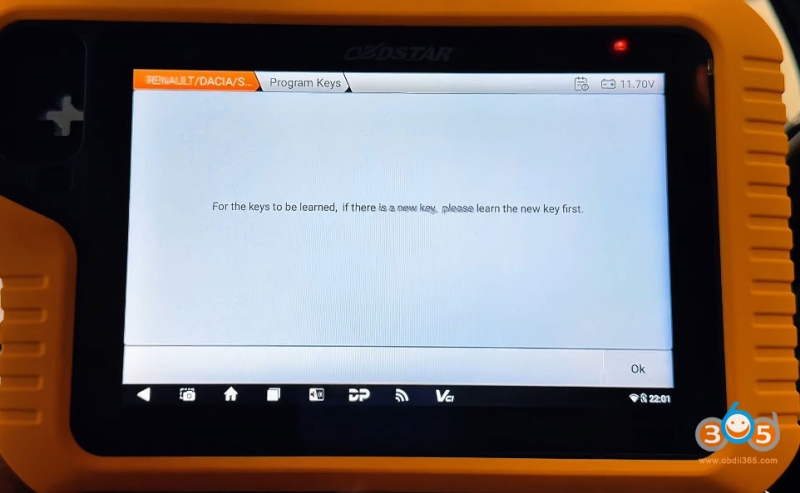
- Ensure you have at least one valid working key that starts the vehicle
- Verify good internet connection
- Access the vehicle’s OBD port
Programming Procedure
Step 1: Connect the Programming Tool
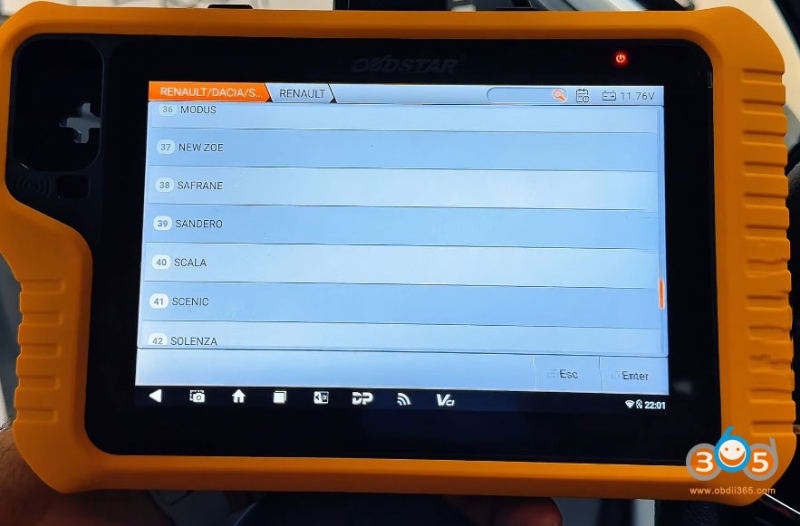
Access the Renault menu on OBDSTAR G3
Selected “Sandero” instead of “Kwid” from the menu options
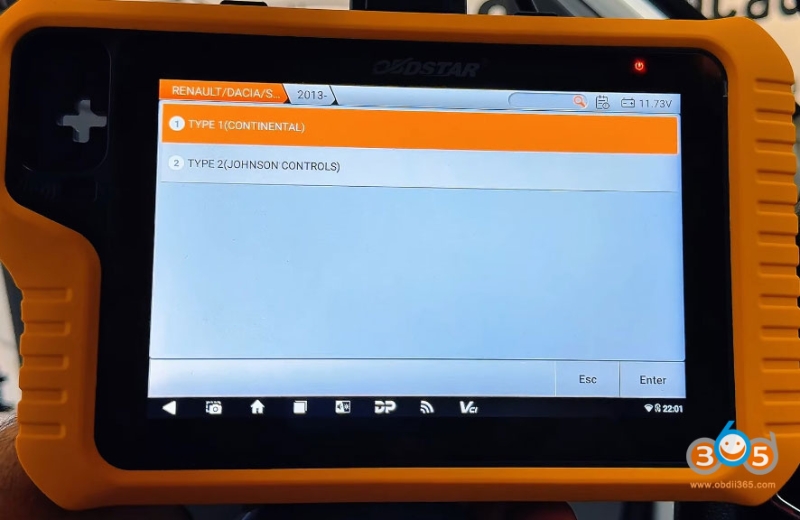
Choose Continental as the system (since this Kwid uses Continental BCM)
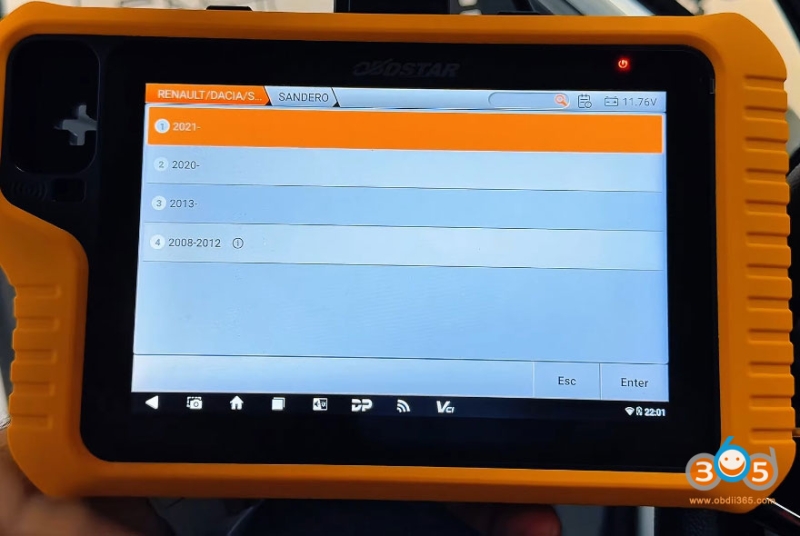
For OBDSTAR, select Sandero 2013 onwards- Type 1 (Continental).
Step 2: Initial Setup
Insert the already programmed working key into the ignition
Turn the ignition on (dashboard lights up)
Follow the scanner prompts.
Turn ignition off when requested.
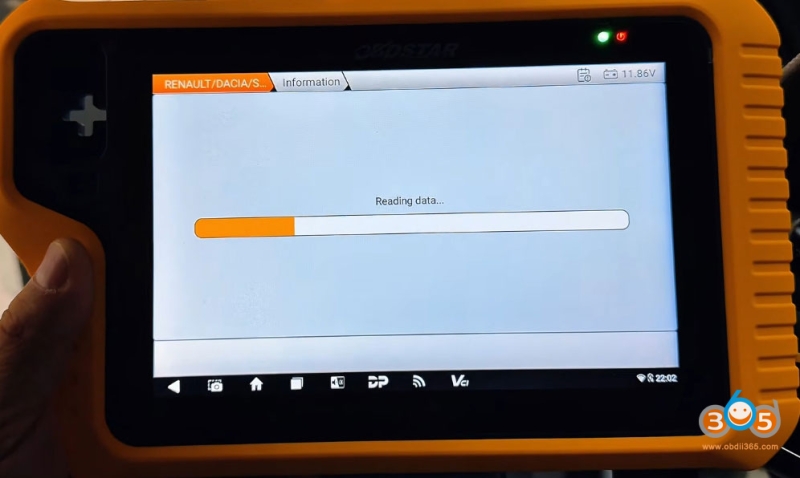
Step 3: Vehicle Identification
The G3 will automatically read the vehicle’s VIN.
Continental systems are quick and responsive.
No need to stabilize the vehicle’s electrical system (with digital dashboard).
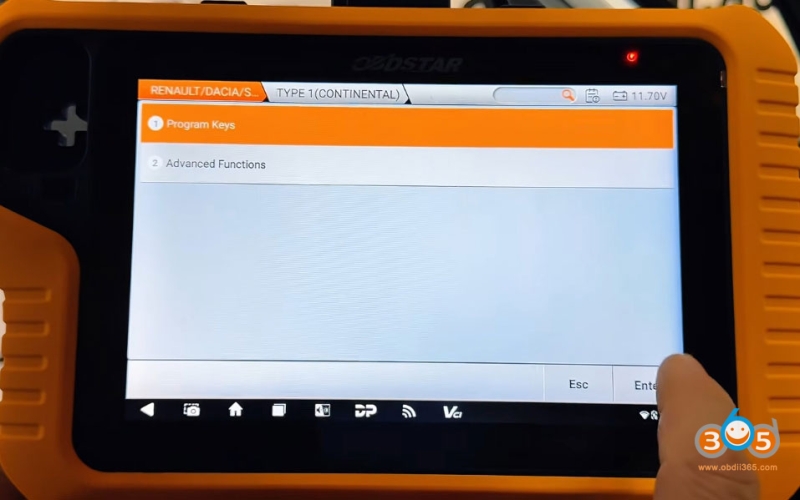
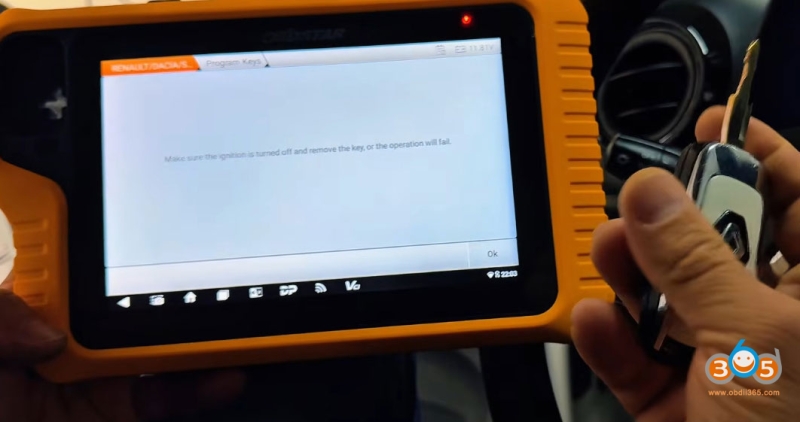
Step 4: Programming the New Key
Remove the working key from ignition when prompted.
Insert the working key again and turn ignition on.
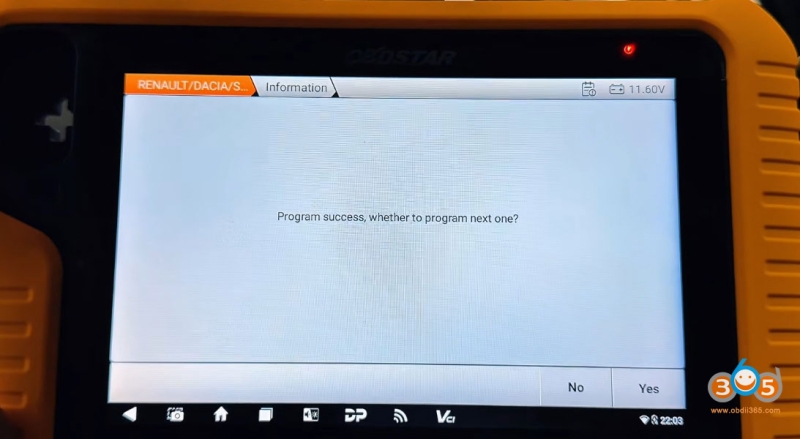
Wait for confirmation that the key has been successfully programmed.
When asked “Program next key?” select YES.
Remove the working key.
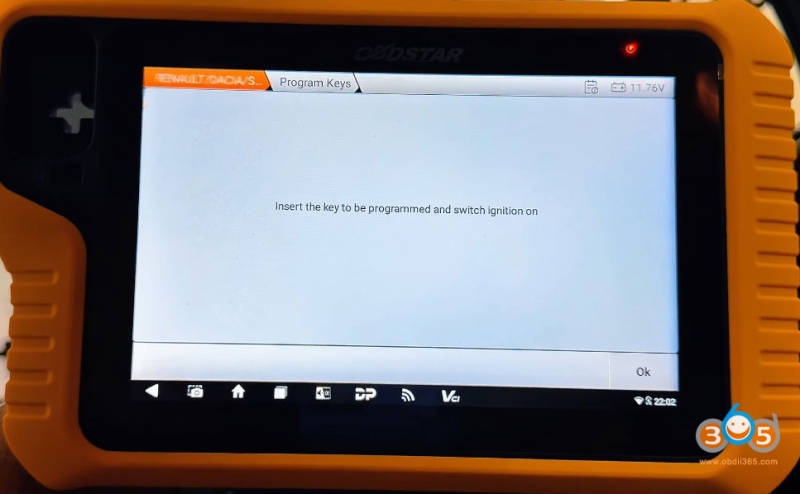
Insert the new unprogrammed key.
Turn ignition on.
Wait for programming success confirmation.
When asked about programming additional keys, select NO (if finished).
Step 5: Finalization
Save the programming information when prompted.
Turn ignition off and on again to verify.
Test that the new key starts the vehicle.
Testing the New Key.
After successful programming, it’s essential to verify both ignition and remote functions:
Ignition Test: Insert the new key and start the vehicle.
Remote Control Test: Lock and unlock the doors using the key’s buttons.
Range Test: Test the remote functions from various distances.