CG007 Godzilla Key Cutting Machine Update and Calibration
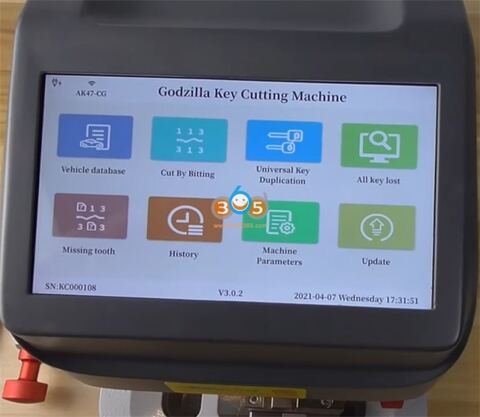
CG007 Godzilla automotive key cutting machine supports free udpate online. It needs to make a calibration after update, check the step-by-step guide below.
Update and calibration steps:
Make sure the probe and milling cutter on the Godzilla key cutting machine are in the same level.
Step 1: Make update, then restart the machine.
On the main interface, click the WiFi logo to connect key cutter with WiFi.
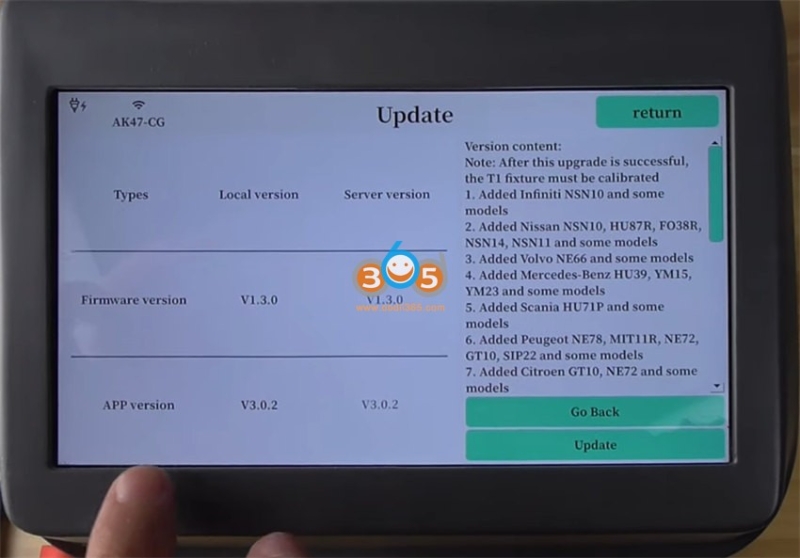
Click Update in the home menu and update the software to latest one
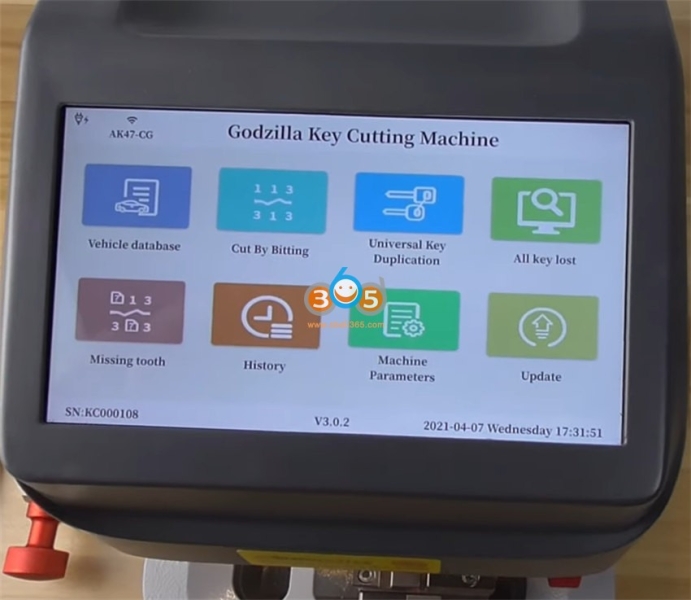
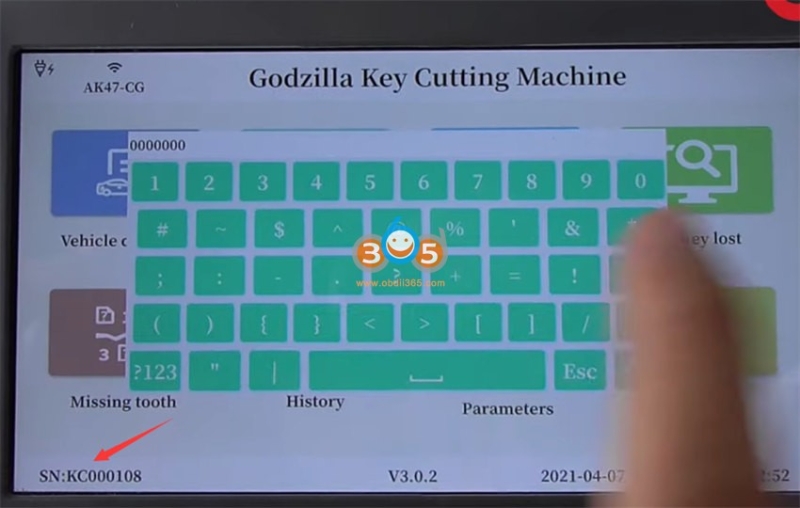
Step 2: After restart, click SN at the right bottom corner to enter the execution code 0000000
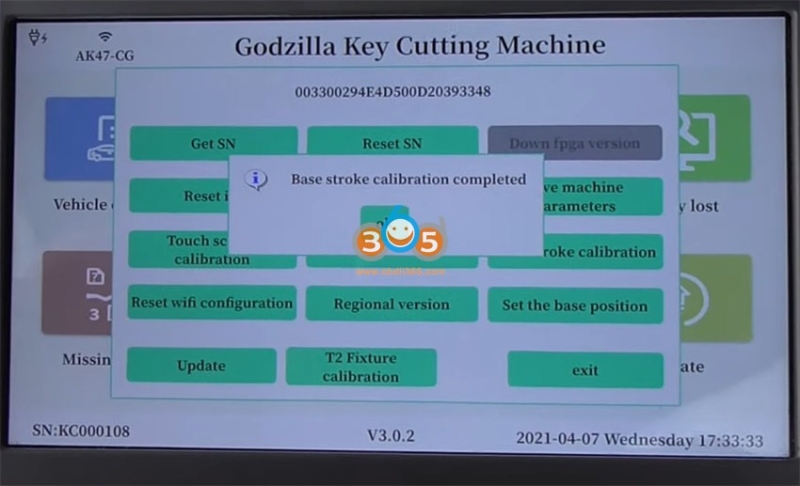
Step 3: Do base stroke calibration
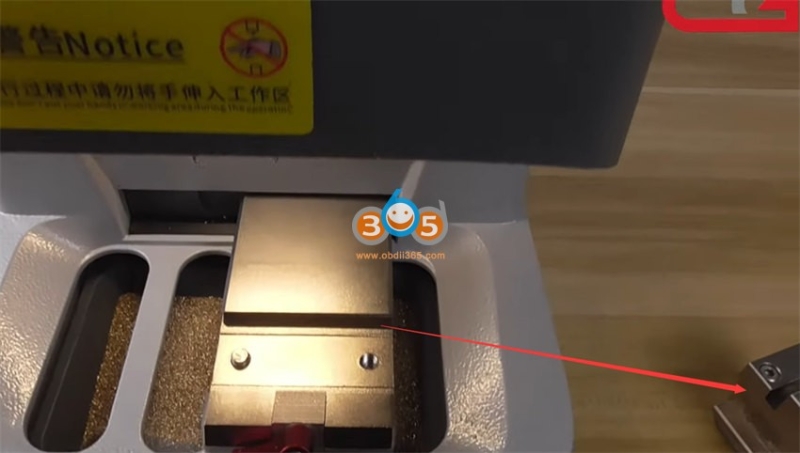
Remove the fixture and click Base store calibration to do
Note: It’s normal when it has a voice during operation. Don’t do other operation in this page, otherwise it may make your machine die.
Step 4: Go to Machine Parameters and do the calibration below
Fixture offset detection>> Fixture calibration>> Cutting calibration
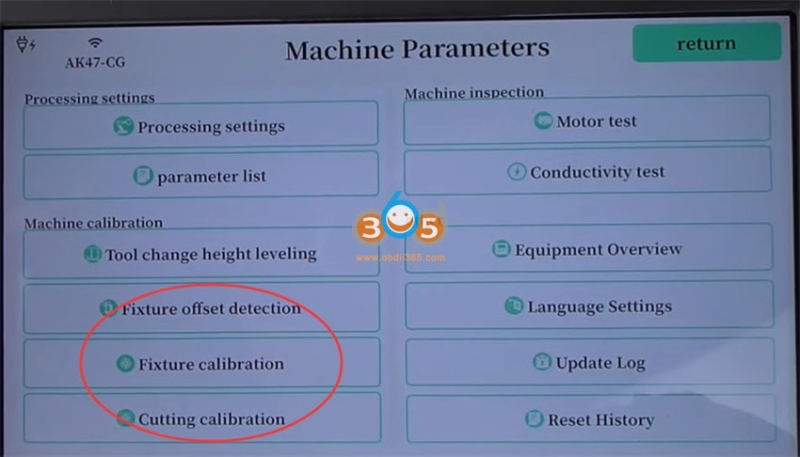
1. Do fixture offset detection (incl. T1 fixture&T2 fixture)
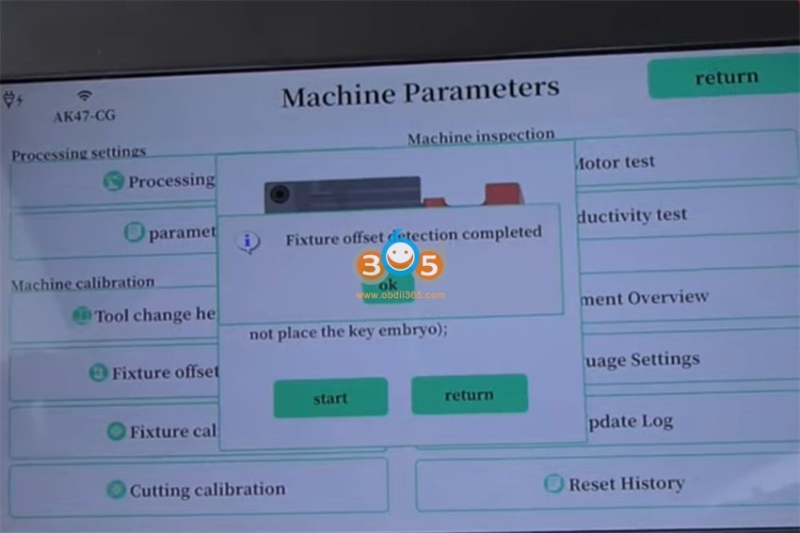
T1 fixture: Replace the T1 clamp and lock (do not place the key embryo), click start
Fixture offset detection completed
Click Return
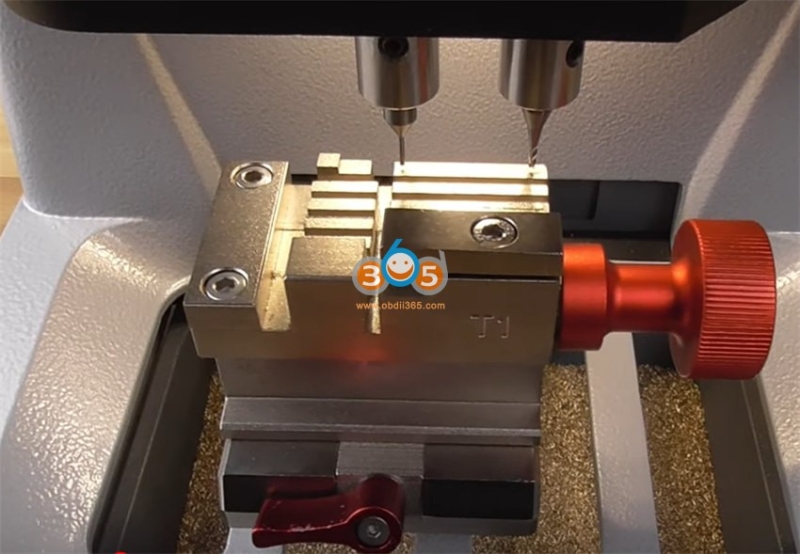
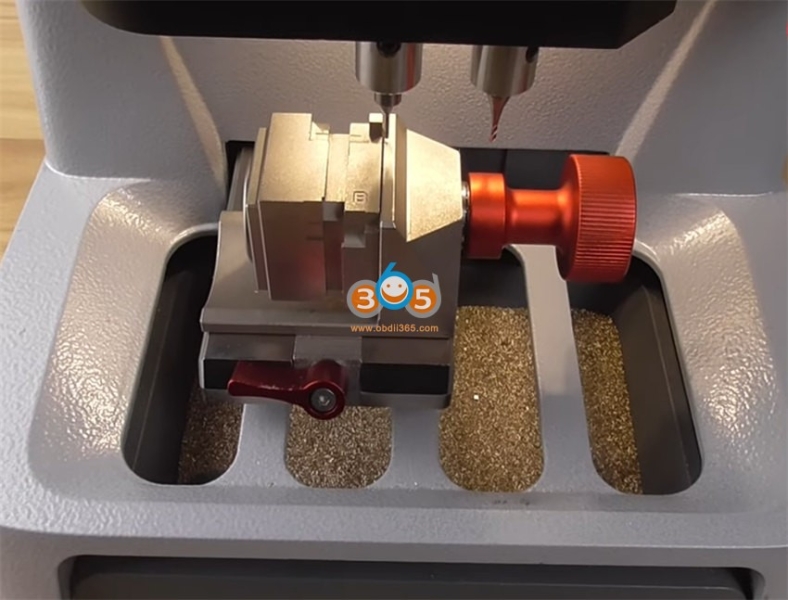
T2 fixture: Confirm that it is a T2 fixture and the B side is facing up, otherwise the test data is inaccurate.
Tips:
Lock after replacing the T2 fixture (do not place the key embryo)
Rotate the fixture to ensure that the B side is facing up
Start to detect
Fixture offset detection completed
Then click ok and exit the page
2.Do fixture calibration (incl. T1 fixture&T2 fixture)
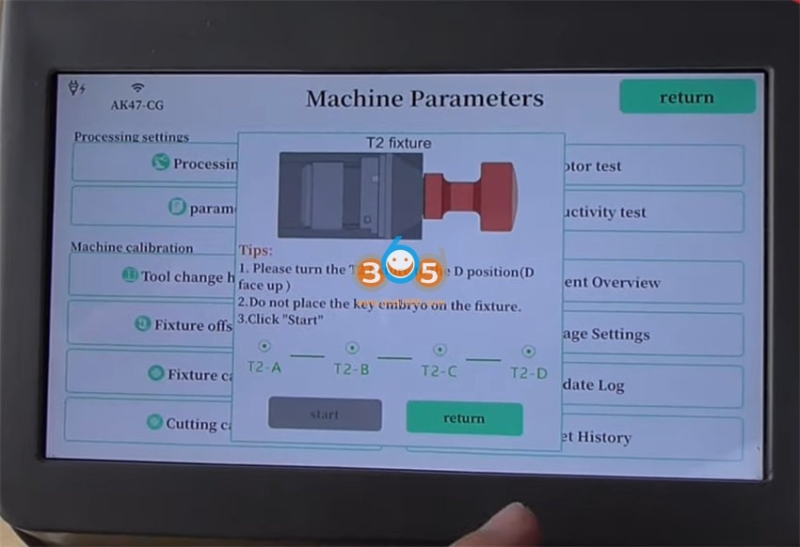
T2 fixture (T2-A/B/C/D side):Turn the T2 fixture to the A position (A face up)
Do not place the key embryo on the fixture
Click start to calibrate
After T2 fixture A side inspection is completed, follow the same step to calibrate B/C/D side in sequence, just make sure the current surface is the corresponding fixture side.
All sides of T2 fixture calibrations are completed.
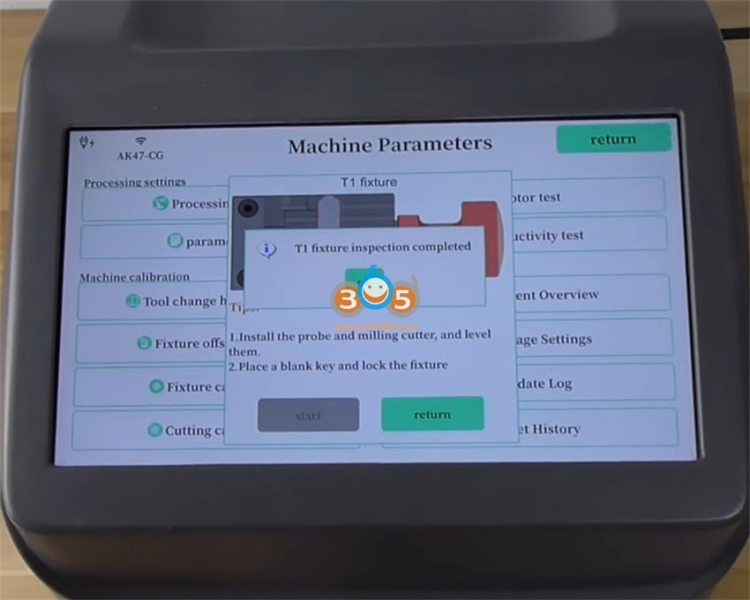
T1 fixture:Install the probe and milling cutter, and level them
Place a blank key and lock the fixture
Start to calibrate
Wait a moment till the T1 fixture inspection is completed
Remove the key and exit the page
3.Do cutting calibration
This function will cut a key embryo for calibration.
Confirm the tool change height leveling has been completed.
Note: we don’t do this step, but need to make sure your probe and milling cutter on the CG007 Godzilla machine are in the same level.
Install the fixture T2 fixture and change to side A, lock it
Clamp a blank HON66 key, align the head of the fixture and lock it
Note: make sure the blade cut no burrs and the surface is smooth.
Start cutting calibration
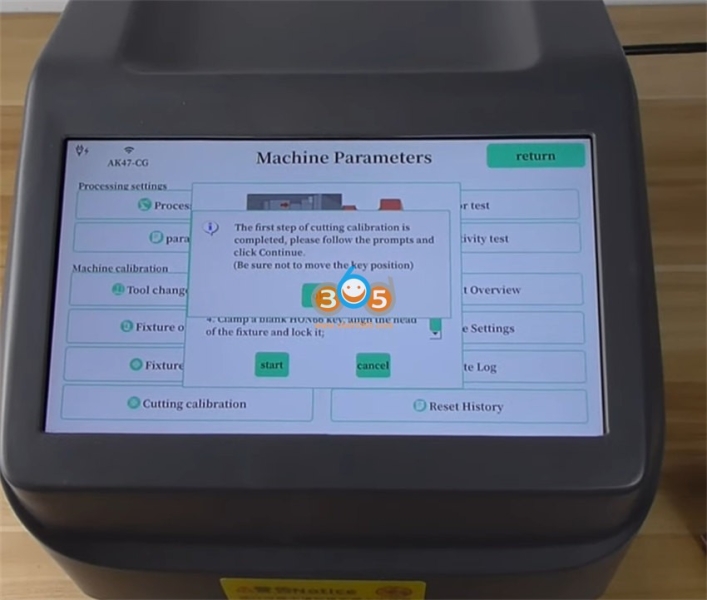
The first step of the cutting calibration is completed, follow the prompt and click continue
- Be sure not to move the key position
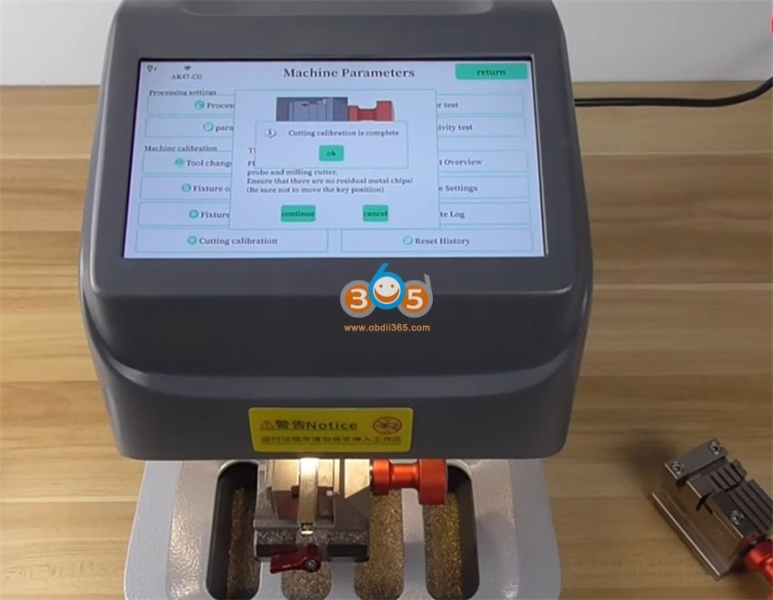
- Use a brush to clean the cutting areas, probe and milling cutter
- Ensure that there are no residual metal chips!
Cutting calibration is complete
Processing settings:
X-axis correction: OFF
Z-axis correction: ON
Detection diameter: OFF
Detection length: ON
Detection width: ON
Detection height: ON
LED setting: ON
Set tooth height: Norm