Autel IM608 Clone Mercedes FBS4 ECU via Gbox3
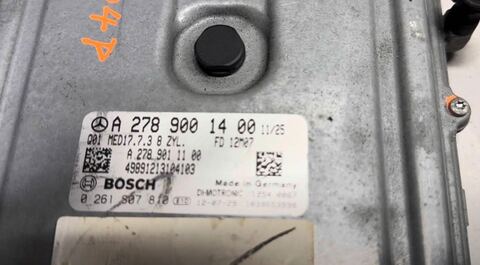
Autel MaxiIM series adds Mercedes Benz FBS4 ECM clone and renew function in Nov. 2023.
Check update information here.
It is a FBS4 system, it is not FBS3, we cannot just back up the coding and back up the immobilizer data and write into the another used donor one.
Here is the instruction to clone Mercedes Benz ECM MED17.7.X FBS4 by Autel IM608.
Compatible with MaxiIM IM608, IM608 Pro, IM508, IM508S, and IM608 Pro II tablets.
Model example:2013 Mercedes-Benz GL350
Engine type: MED17.7.3

Go to IMMO->Mercedes Benz->Exbert selection->Engine ECU->Select ECM Data Cloning
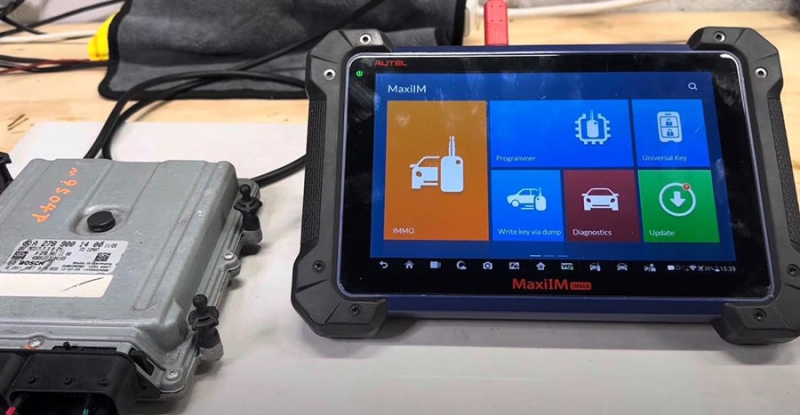
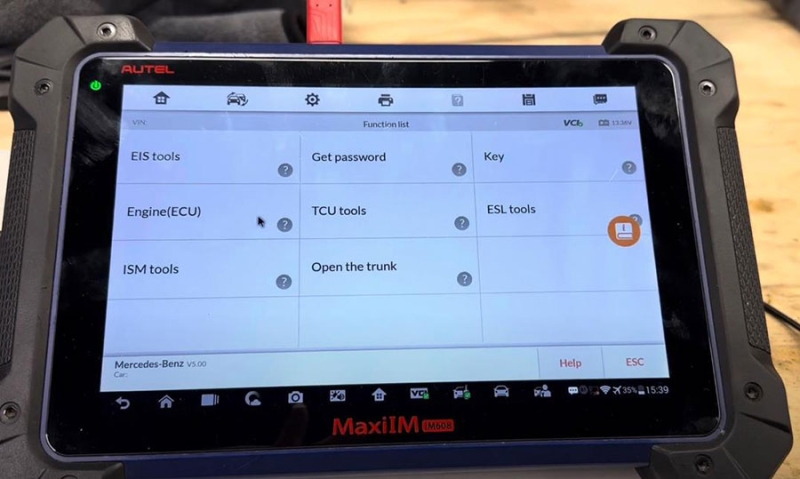
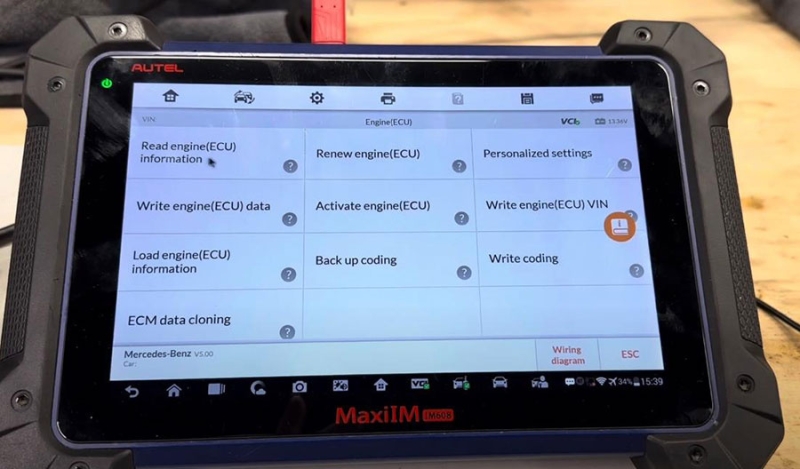

Select ecu type, here is a Bosch MED17.7.3 TC1797
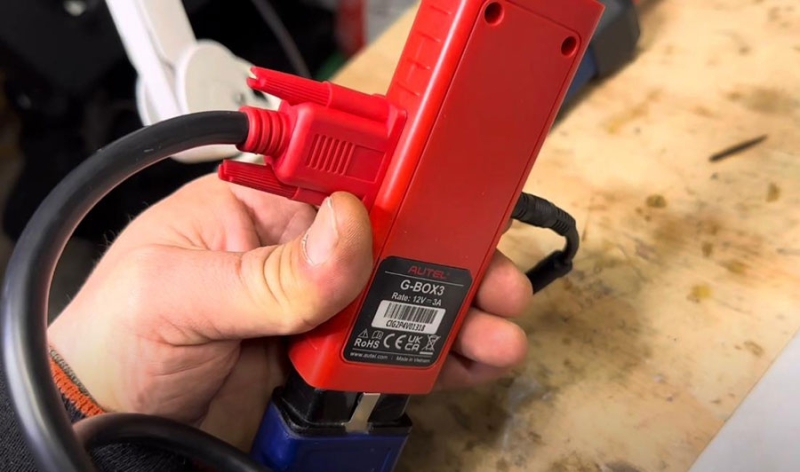
This function requires Gbox3 or a higher version of Gbox.
Check wiring diagram
Connect Gbox3 with ECM, IM608 and JVCI
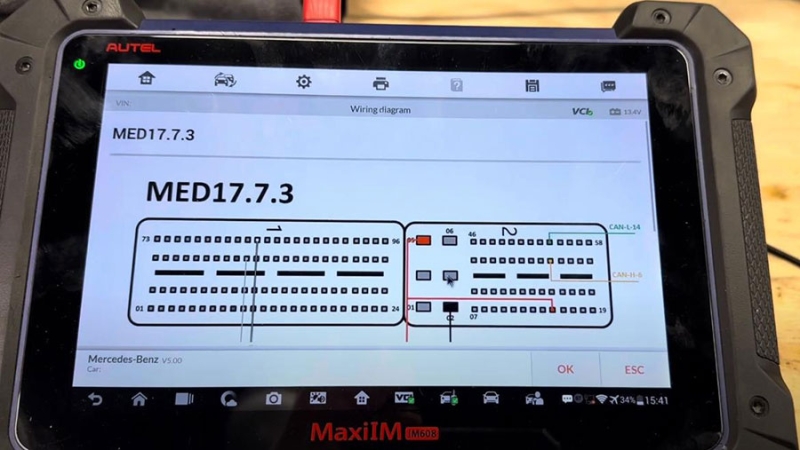
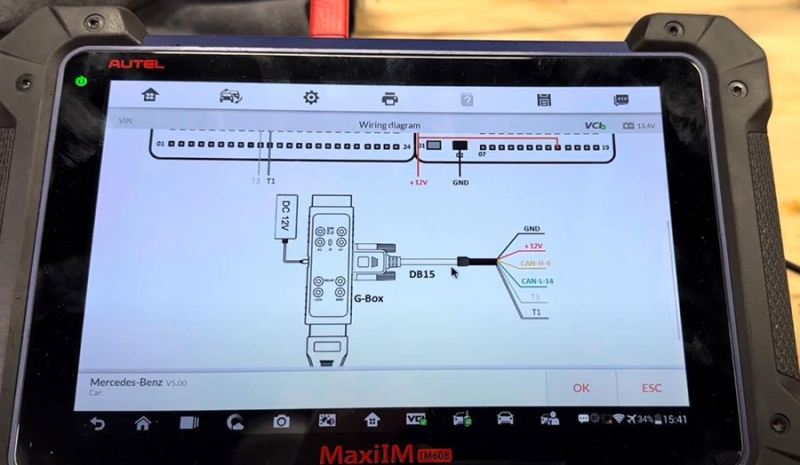
It is very simple as you can see in here power ground, another power, this is CAN H, CAN L, T1 and T3.
Everything is connected.
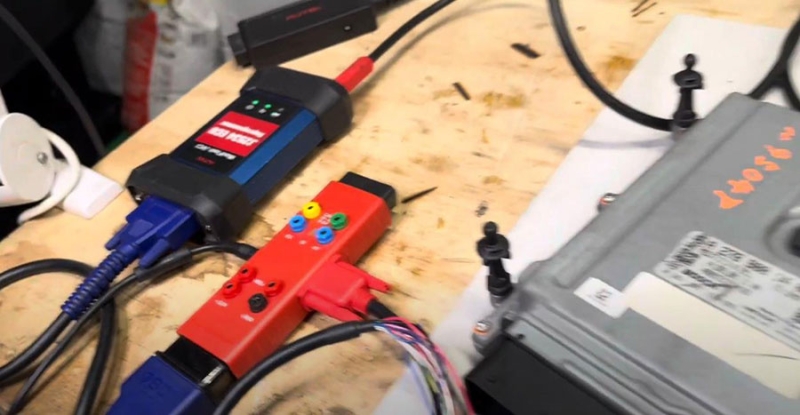
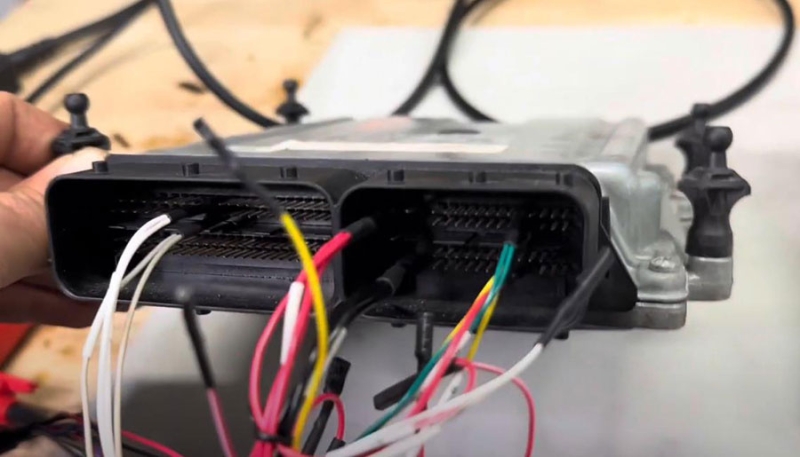
Press OK
We are going to read internal BOOT data, INT eeprom and INT flash from original ECU, then write INT BOOT, INT eeprom and INT flash to the donor ECM.
First Read Internal Boot Data
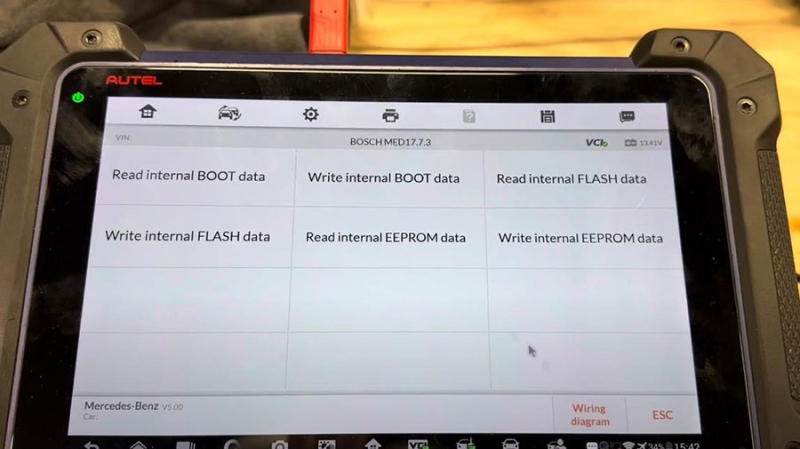
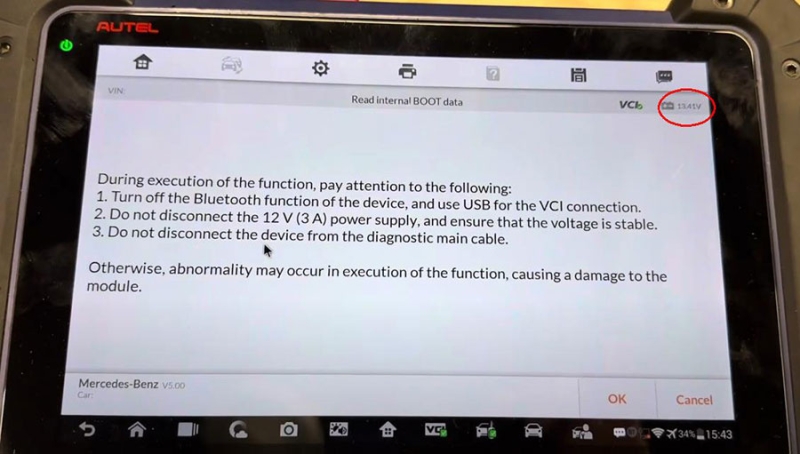
During the execution of this function, pay attention to the following:
Turn off Bluetooth function of the device, use the USB for the VCI connection
Do not disconnect 12V 3A power supply, ensure the voltage is stable. Better using a battery maintainer. Here have the voltage stabilized at 13.41V.
Make sure the voltage is above 12V between 12V and 14V and make sure it is stable.
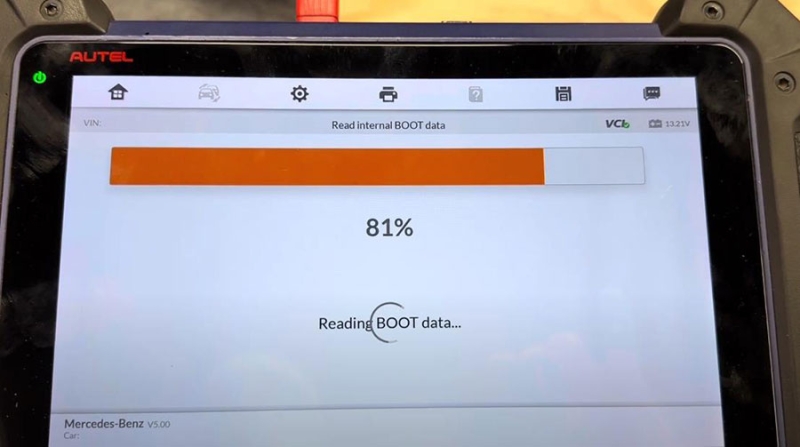
If failed to read internal BOOT data, check voltage and wiring connection and read again
INT BOOT file is read and saved.
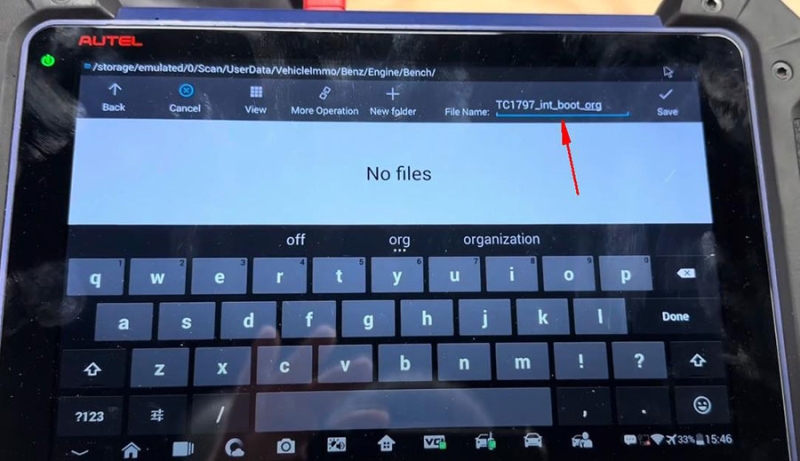
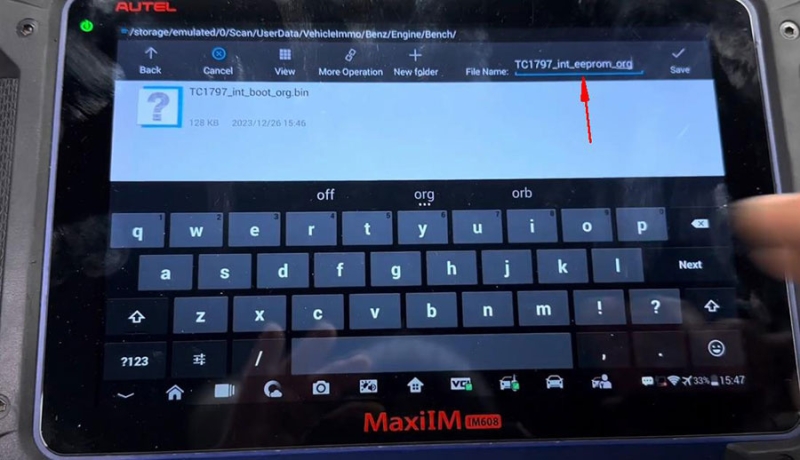
Read original Internal EEPROM and save
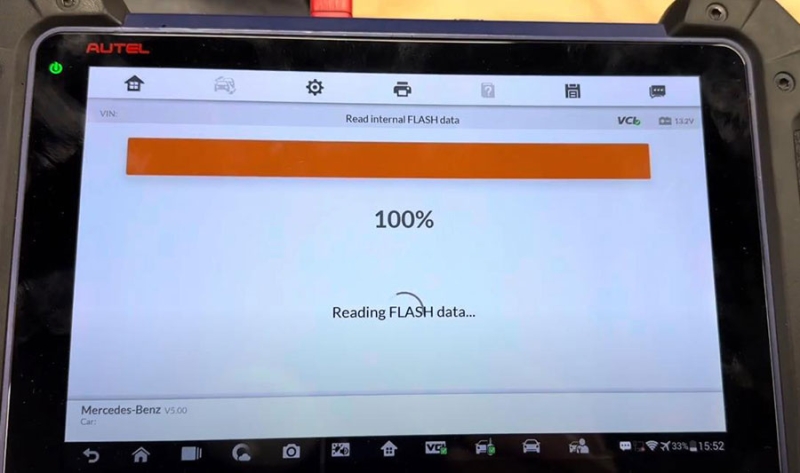
Then read original Internal Flash data which your map files are located in actually.
INT flash file is read and saved.
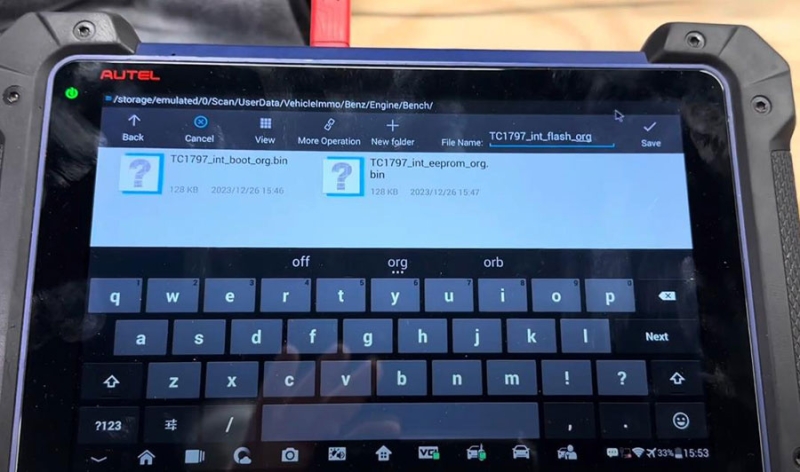
Disconnect original ECM.
Hook up another donor ECM following the wiring diagram.
It’s the same exact thing how we connected the original one.
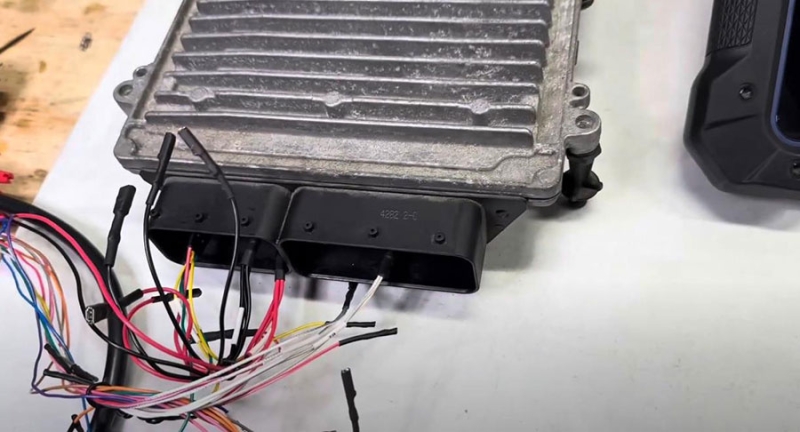
Write internal BOOT data
Select original INT BOOT data just save and write
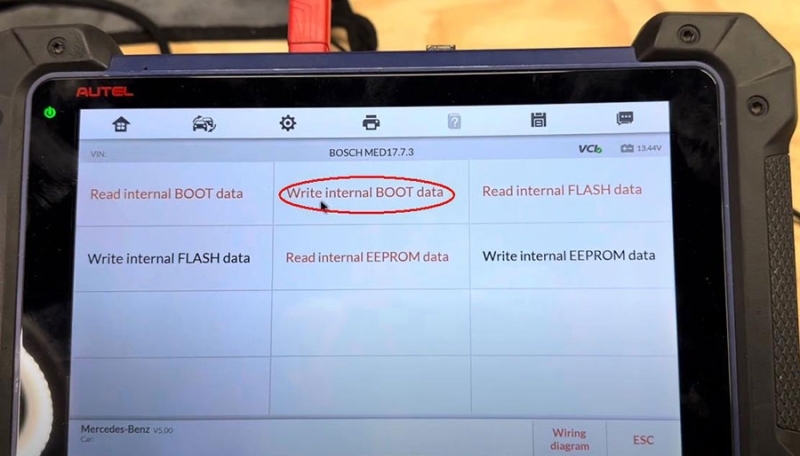
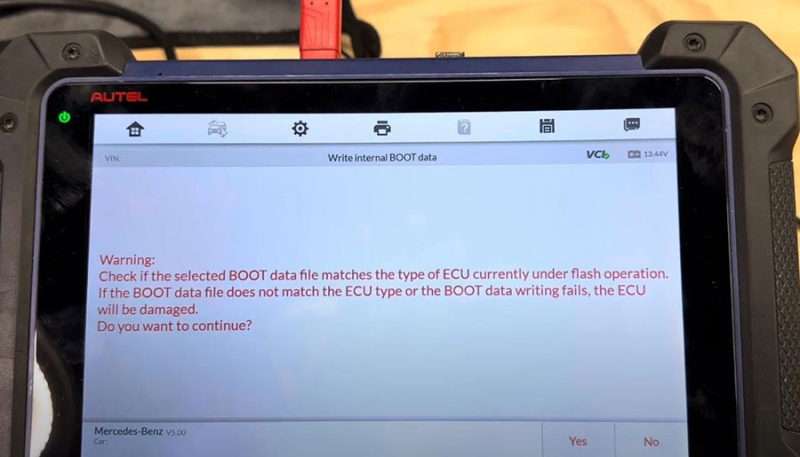
We just have to make sure that the Mercedes part numbers on both ecus they must match identically.
If they do not match you might have problems programming it or after programming trying to start the car might not start.
Just be very careful you must get the same part numbers. Press Yes to continue.
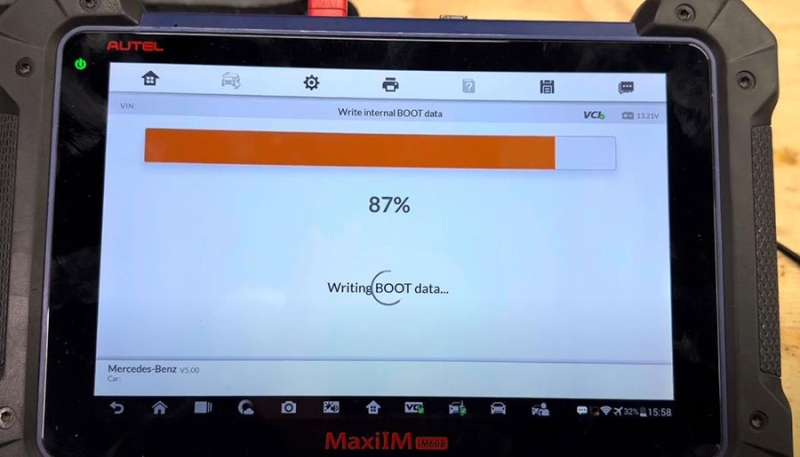
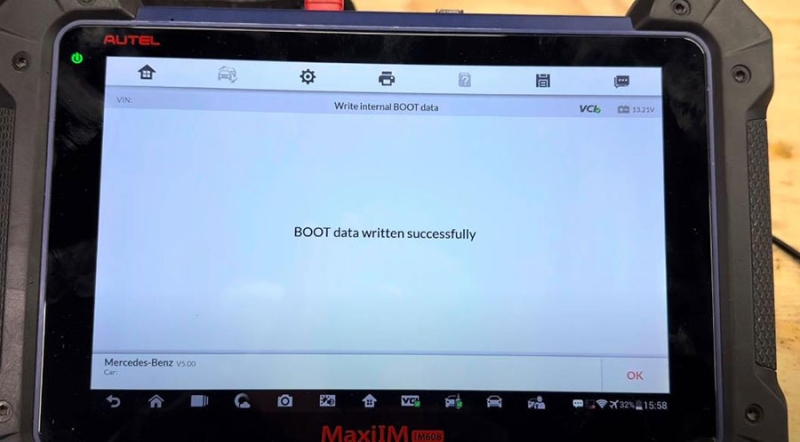
Select original INT eeprom data and write Internal eeprom
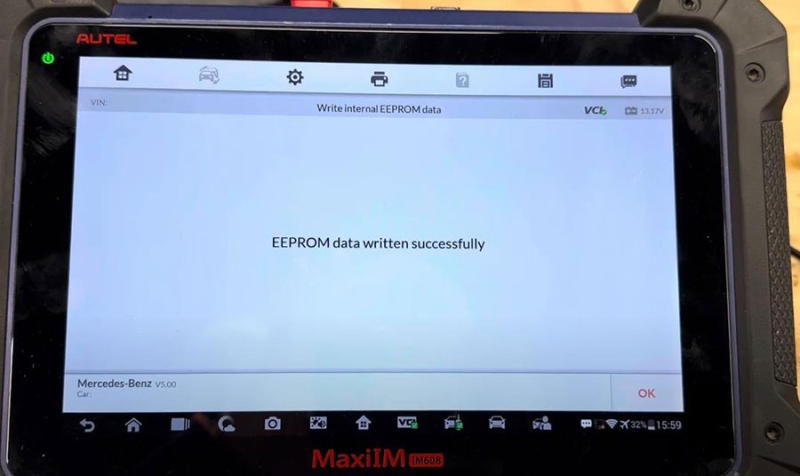
Then select original internal flash data and write INT flash to the donor ECM
This one which will take a little longer it depends how different the software.
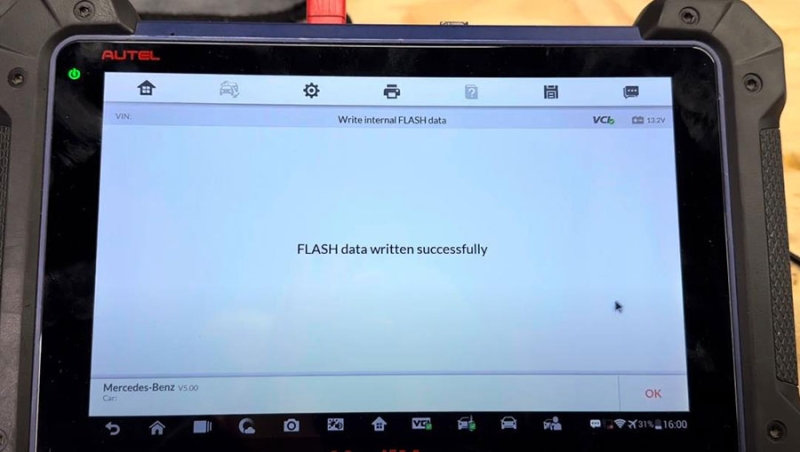
You don’t have to do relearning procedure or anything like that.
Everything that’s on the original computer actually transferred into this new ECM.
Install new ECM to vehicle and test.