In today’s guide, we’ll walk through the process of programming a spare key for a 2021 Renault Clio 5 using the OBDSTAR X300 Classic G3. This particular vehicle requires special attention due to its gateway system, making the procedure slightly more complex than standard key programming.
Required Equipment and Preparations
- Before beginning, ensure you have the following equipment ready:
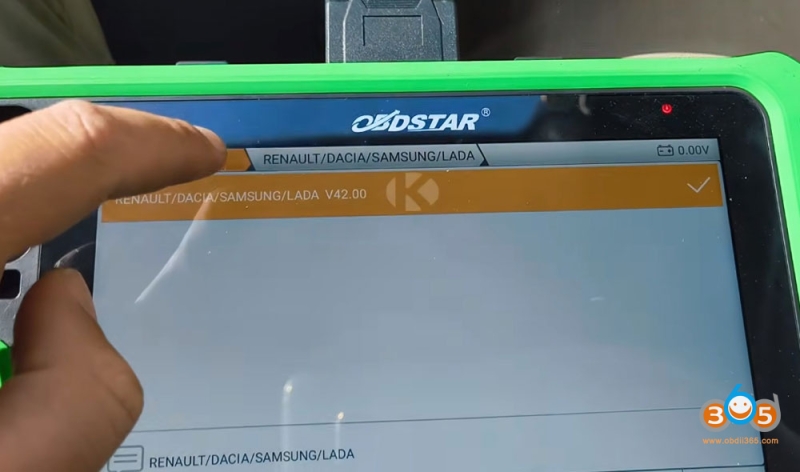
- OBDSTAR X300 Classic G3 with the latest software updates (version 42.0 or newer at the time of this guide)
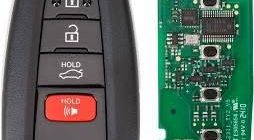
- Three-button retractable key (blade type, compatible with Renault)
- Nissan/Renault 16+32 cable – essential for bypassing the vehicle’s gateway
- Battery maintainer/charger – critical to prevent voltage drops during programming
- Stable internet connection – required for the IMMO application
Understanding the Renault Clio 5 Gateway System
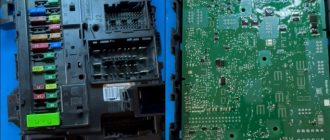
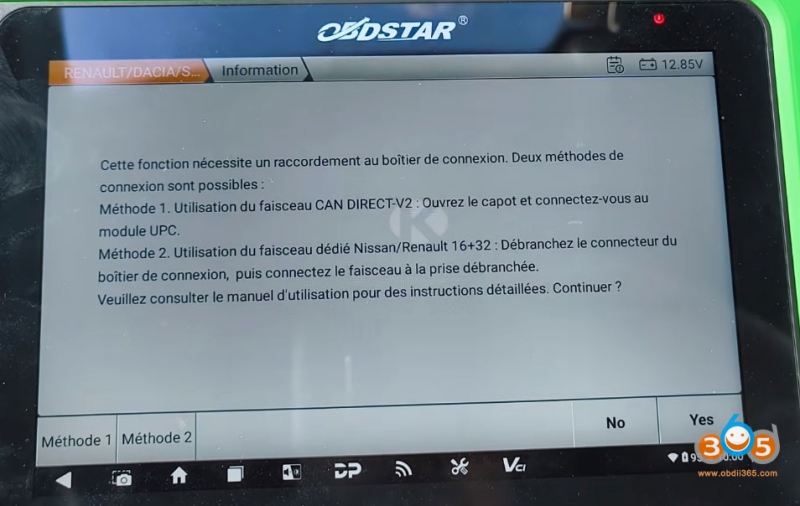
The Renault Clio 5 is equipped with a gateway module that blocks direct OBD connections. This means you cannot simply plug into the standard OBD port under the dashboard. Instead, you’ll need to access the gateway module directly.
Access Method
- Remove the glove compartment
- Locate the small gateway box behind it
- Connect using the Nissan Renault cable (16+32 pin configuration)
This is the recommended method (Method 2) as opposed to connecting through the engine compartment CAN Direct V2 cable (Method 1).
Step-by-Step Programming Procedure
1. Initial Setup
-
Connect your battery maintainer to ensure stable voltage throughout the process
-
Connect the 16+32 cable to the gateway module behind the glove box
-
Ensure your OBDSTAR G3 has a stable internet connection
-
Open the IMMO application on your device
2. Vehicle Selection
-
Navigate to the Renault section in the IMMO app
-
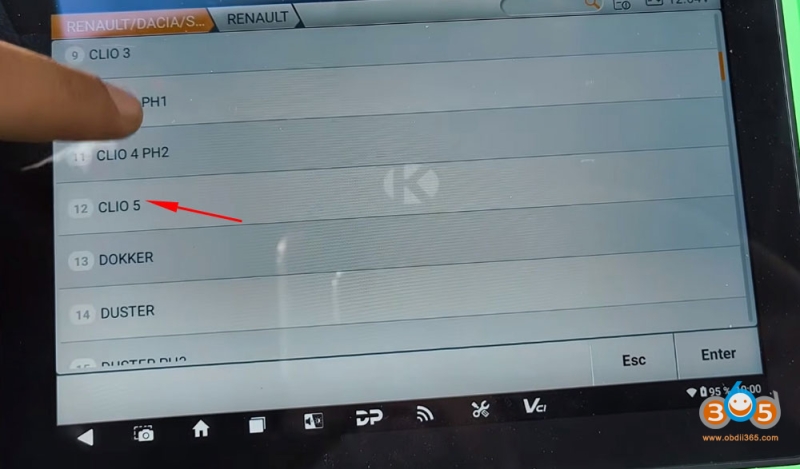
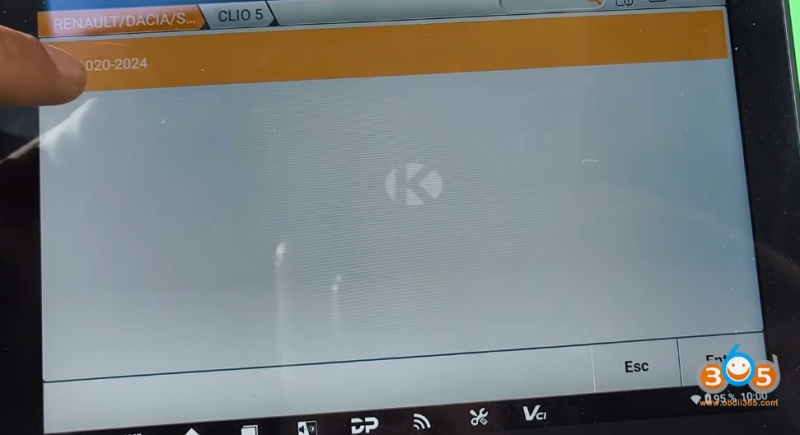
Select the vehicle model: Clio 5 (2020-2024)
-
Choose the key type: standard blade key (not hands-free/card type)
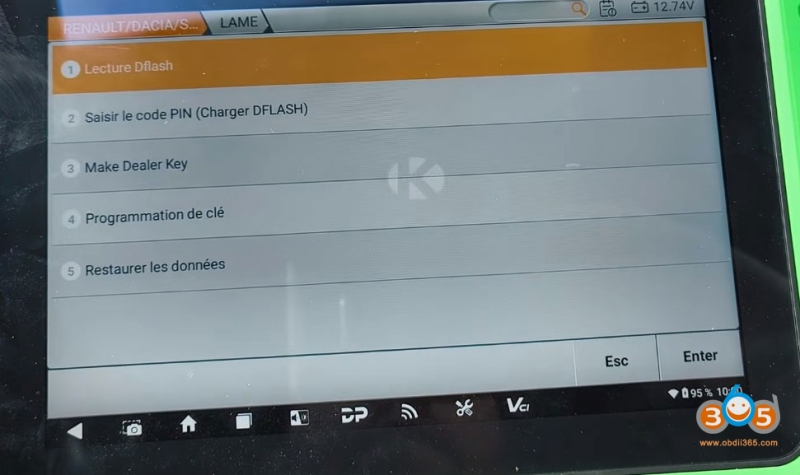
3. Reading the Flash Data
-
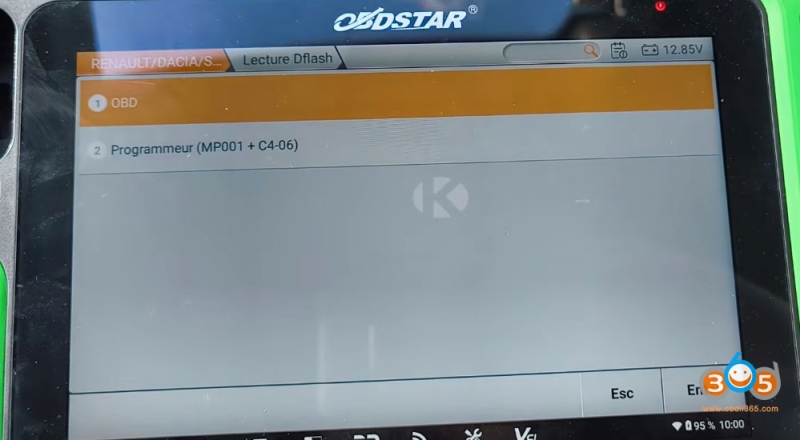
Select “Read Flash via OBD” option
-
The system will detect the gateway and offer two connection methods
-
Choose Method 2 (FCA cable behind glove box)
-
Turn the ignition ON using the customer’s existing working key
-
Important: Take a photo of the data displayed on screen – this will be helpful if you need to rewrite data in case of internet disconnection
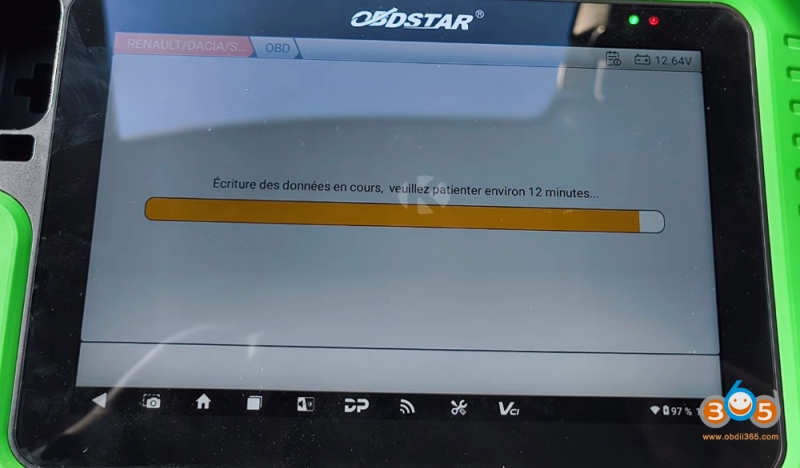
4. Data Processing
-
Wait approximately 12 minutes for the data to be read and processed
-
A progress bar will show the loading status
-
Once complete, follow the on-screen prompt to open and close the driver’s door
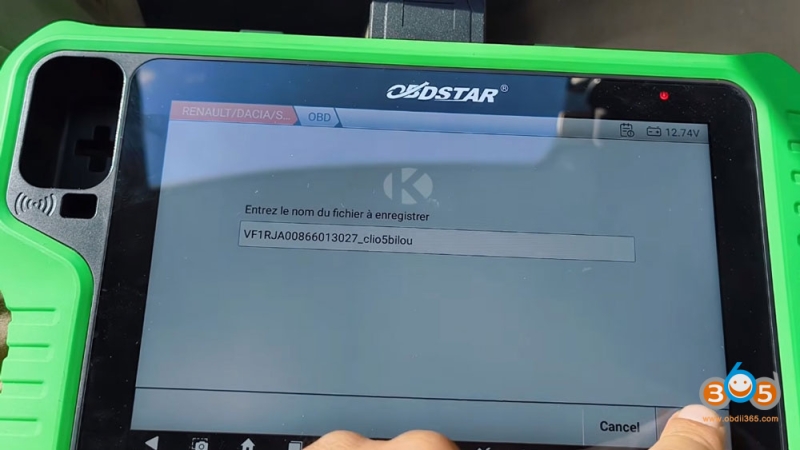
5. Save the File
-
Save the file with a recognizable name (recommended: include the chassis number, vehicle model, and customer name)
-
This file contains critical data for the key programming process
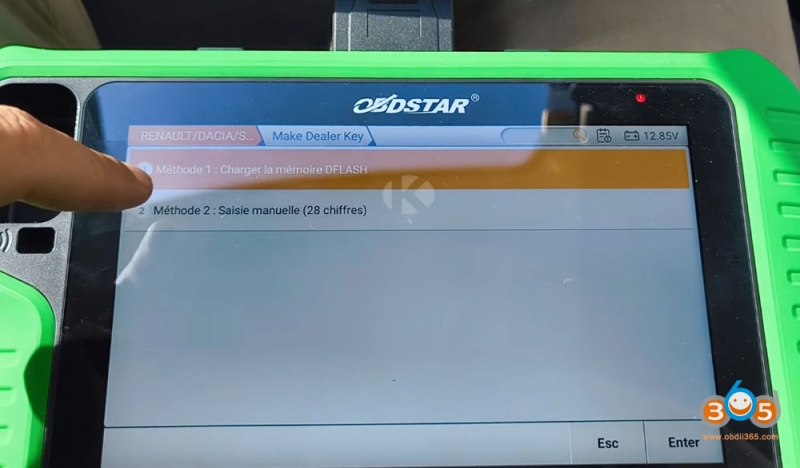
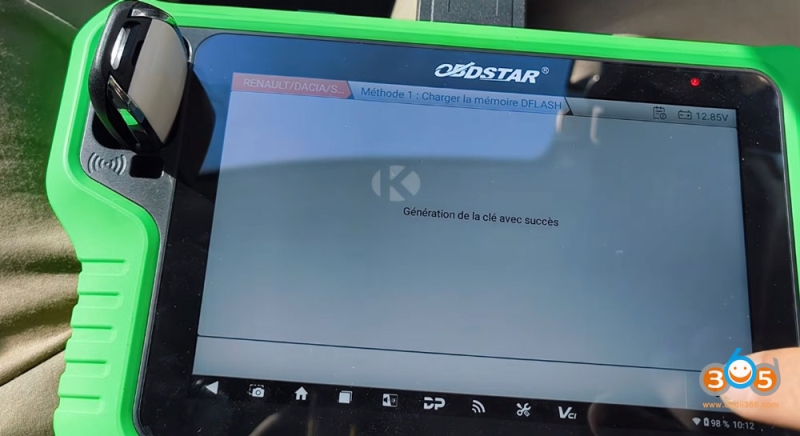
6. Generating the New Key
-
Navigate to the “Make Dealer Key” function
-
Load the saved flash file
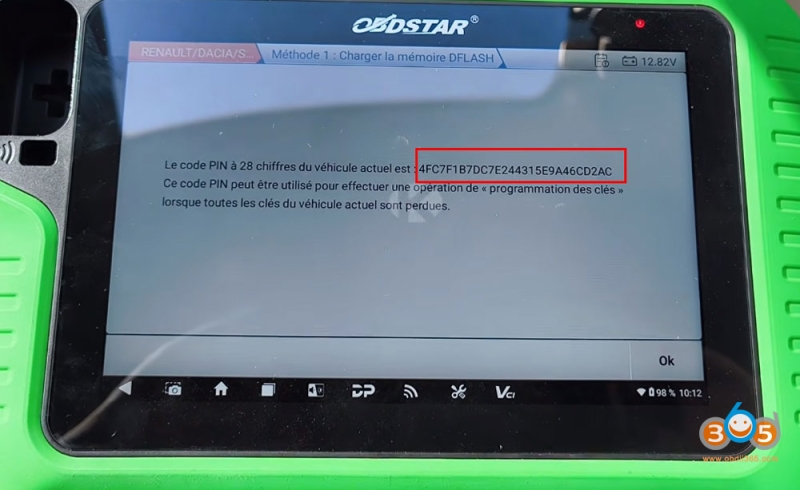
-
The system will display the PIN code – this is extremely important.
-
Take a photo of the PIN code and consider providing it to the customer
-
The PIN code allows for key replacement even if all keys are lost in the future
7. Key Programming
-
Place the new blade key in the tablet’s detection zone (left side)
-
Ensure the key is properly positioned
-
Select “Key Programming”
-
The system will verify all keys to be programmed (in this case, 2 keys total)
-
Follow the sequential prompts:
-
Turn ignition OFF
-
Turn ignition ON with the customer’s original key – key programmed successfully
-
Turn ignition ON with the new key – key programmed successfully
-
Completion and Testing
Once programming is complete:
-
The central locking should function correctly
-
All windows should operate as expected
-
Verify the engine starts with both keys
Important Reminders
-
Always use a battery maintainer – voltage fluctuations during programming can cause failures
-
Document the PIN code – this is crucial for future key replacements
-
Keep the software updated – outdated versions may not support newer vehicle models
-
Take photos of all displayed data – useful for recovery if issues arise
-
Label saved files clearly – include vehicle details for easy identification
www.obdii365.com