Airbag Lifting Tool: What It Is and How to Use One Safely
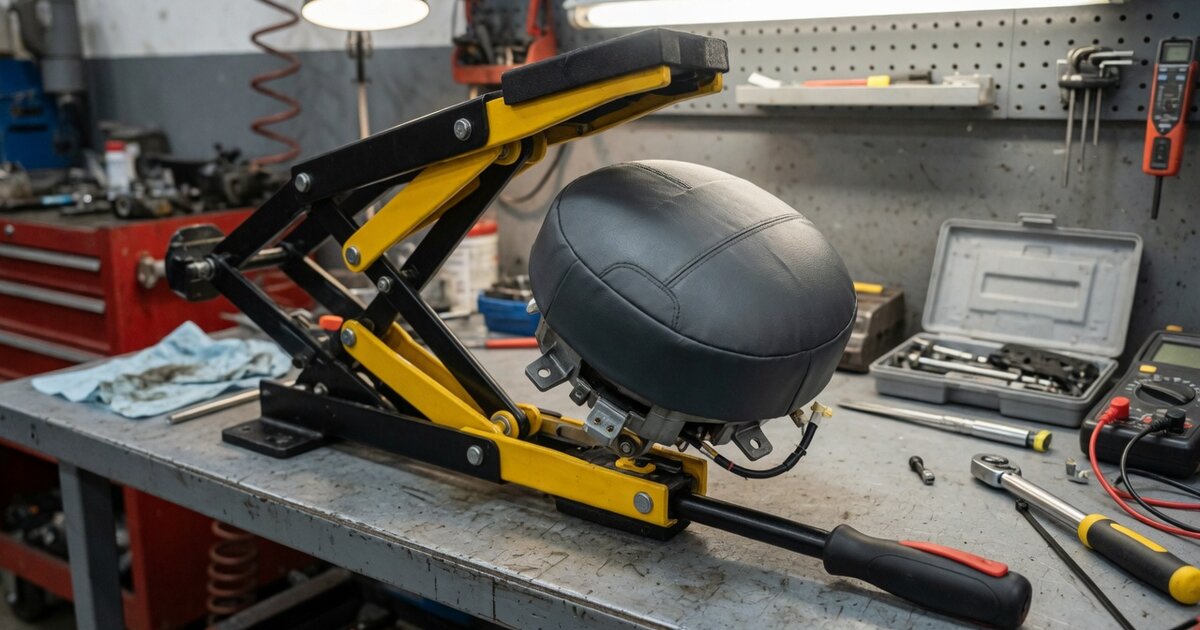
When a technician needs to pull a steering wheel apart to reach a horn contact, a clockspring, or an airbag module itself, the first obstacle is rarely electronic. It is four to six plastic clips holding the cover on. An airbag lifting tool is the hand tool built for that step: a thin, non-marring pry piece, usually molded nylon or hard plastic, sometimes with a hooked or angled wedge tip, made to slip behind an airbag cover or trim panel and release the retaining clips without gouging the plastic or putting a metal screwdriver near the components underneath. It goes by a few names in the trade — airbag panel tool, airbag pry tool, airbag trim removal tool — but it is a purely mechanical piece of shop equipment, not a scan tool or anything that talks to the vehicle's electronics.
What It Is and What It Does
Airbag lifting tools are shaped the way they are for a specific reason: the covers and trim they work on are held by small, often brittle plastic clips or spring-steel retainers, and the part underneath is not something you want to gouge or crack with a metal blade. A flat steel pry bar or standard screwdriver concentrates force on a tiny contact point and either snaps the clip, cracks the cover, or slips and scratches surrounding trim. A nylon or hard-plastic lifting tool spreads that force over a wider, rounded edge, flexes instead of cracking the part it touches, and will not scratch painted or textured plastic the way bare metal does.
In practice, these tools separate the driver's airbag cover from the steering wheel spokes so a technician can reach the horn contacts, the clockspring connector, or the module's own retaining clips or bolts; pop loose a passenger-side dash trim panel over the front passenger airbag; and, on newer vehicles, release side-impact or knee airbag trim covers the same way. Most shops do not buy a single dedicated "airbag lifting tool" on its own — it is usually one shape in a broader trim and panel removal set, alongside flat blades and wedge picks meant for door panels and interior clips generally. What sets the airbag-specific pieces apart is the shape: a narrower, often hook-ended or angled profile sized to reach the clip pattern on steering wheel covers, where space behind the wheel is tight and a wide blade will not fit.
It is worth being precise about what this tool does not do. It has nothing to do with resetting a fault code, clearing deployment history, or bypassing a disconnected sensor — those are jobs for dedicated diagnostic and simulator hardware, not a plastic pry piece. A shop that also stocks an airbag lockout tool is using it for an entirely different purpose: keeping the SRS module from throwing a fault while a component is temporarily disconnected, which has nothing to do with physically freeing a cover from its clips.
Safe Use and What to Consider
The tool itself is simple, but the environment it is used in is not, because an airbag cover conceals a pyrotechnic inflator even when the vehicle is off and the key is out. Standard shop practice before removing any airbag-related cover or trim panel is to disconnect the battery, usually at the negative terminal, and then wait before working on or near the restraint system. The exact wait time is set by the vehicle manufacturer and varies by make and model, since it depends on how long the SRS module's backup capacitor takes to discharge; the correct number should come from the vehicle's own service manual, not from habit or from what worked on a different car.
Once the cover is off, how the module is handled matters as much as how it was removed. A removed module, whether it will be reused, replaced, or shipped, should be set down trim-side up and away from anyone nearby, never face-down and never stacked under anything. It should not be dropped or struck, and it should stay away from heat, open flame, and static-prone surfaces. This applies to modules that have already deployed too: a deployed unit is not inert scrap and should still be bagged and handled per the shop's disposal procedure. None of this changes because the tool used to free the cover was plastic — it only reduces the risk of damaging trim during removal; it does not change the handling rules for what is underneath.
It also helps to keep the physical and electronic sides of a job separate. Freeing a cover, disconnecting a clockspring, and reinstalling everything afterward is physical work start to finish. If a module needs to move to a different vehicle, or a shop is troubleshooting why a scan tool still shows an old deployment event on a part that looks physically fine, that is a different problem with different equipment; see how an airbag crash data reset tool is used and where its limits are. A lifting tool cannot touch software or memory, and a reset tool cannot free a stuck clip.
Common Mistakes to Avoid
The mistakes around airbag lifting tools are mostly about impatience, not complexity:
- Reaching for metal first. A flathead screwdriver or steel trim tool cracks clips and scratches plastic a nylon tool would not, turning a five-minute job into a parts order.
- Skipping the battery disconnect and wait time. Prying a cover loose takes seconds; confirming the wait time has passed takes longer, and skipping it is the step most likely to turn a routine removal into an injury.
- Forcing the tool in the wrong spot. Covers release at specific clip points, not evenly around the edge. Prying blind at the nearest gap is how covers crack and clips snap off inside the wheel.
- Not supporting the wiring behind the cover. The clockspring connector and horn wiring sit right behind most airbag covers; freeing the cover without controlling that slack can pop a connector loose.
- Reusing a broken clip. A cracked or missing clip means the cover will not seat and lock properly on reassembly — worth fixing rather than living with.
- Assuming one profile fits every vehicle. Clip spacing and cover shape differ enough between makes that a set with a few profiles covers far more vehicles than a single shape.
Frequently asked questions
What exactly is an airbag lifting tool made of?
Most are molded nylon or another hard, slightly flexible plastic, chosen because it will not scratch painted or textured trim and will flex before it transmits enough force to crack the clips it is prying against, unlike a rigid metal blade.
Can I just use a regular flathead screwdriver instead?
You can, and many people do in a pinch, but it is more likely to slip, scratch trim, or snap a clip than a purpose-shaped plastic tool, since a screwdriver blade concentrates force on a small point rather than spreading it across a rounded edge.
Do I need to disconnect the battery before using one on a steering wheel airbag cover?
Yes. The tool only removes a cover, but that cover sits over a live pyrotechnic device, so standard practice is disconnecting the battery and observing the wait time specified in the vehicle's service manual before working on or near it.
Is an airbag lifting tool the same thing as an airbag lockout tool?
No. A lifting tool is a plastic hand tool that physically releases clips holding a cover or trim panel in place. A lockout tool is an electronic simulator connected in place of a disconnected component so the SRS module does not flag a fault during service — the two solve completely different parts of the same job.
Will one lifting tool fit every make and model?
Not reliably. Clip patterns and cover shapes vary enough between manufacturers that a tool sized for one wheel can be the wrong width or angle for another, which is why most sets include a few tip profiles rather than one universal shape.
What do I do with the airbag module once the cover is off?
Set it down trim-side up and away from anyone nearby, never face-down or stacked under other parts, keep it away from heat and static, and follow the shop's handling and disposal procedure whether it is being reinstalled, replaced, or is a deployed unit awaiting disposal.